
How To
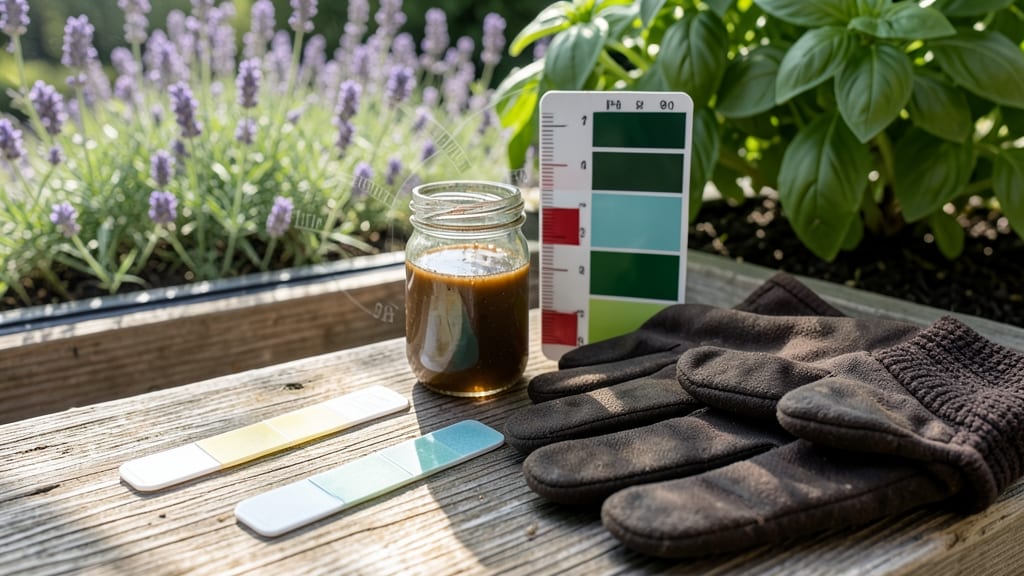
Your plants' health depends on soil pH—yet most gardeners guess what it is. 🌱 Soil pH tester strips give you instant answers, so you can fix nutrient deficiencies before they show up as yellow leaves or stunted growth.
I used them to turn my struggling tomatoes into heavy producers, and the results were shocking. The strips work like litmus paper for soil: dip, wait, compare. You’ll know in under a minute whether your soil is too acidic, too alkaline, or just right for what you’re growing.
Most problems—like iron deficiency in blueberries or calcium shortages in tomatoes—start with the wrong pH. Once you adjust with amendments, you’ll see plants drinking up nutrients like never before. My roses bloomed twice as much after raising the pH just one point.
The key is testing regularly and acting fast—before the damage becomes permanent. No fancy equipment needed. Just strips, a little soil, and a willingness to tweak. Let’s get your garden’s foundation right.
📚 In This Guide
- What you need
- Instructions
- Tips and common mistakes
- Wrapping up and next steps
What you need
- ● Soil pH tester strips (1–5 strips, depending on testing frequency): Precision-dyed strips with a clear color scale (e.g., 3.5–10.0 pH range).
- ● Look for fast-acting (10–30 sec) strips for convenience.
- ● Fresh soil sample (1–2 tbsp per test): Collect from 3–5 inches deep (avoid surface debris).
- ● Use a clean trowel or spoon to prevent contamination.
- ● Small container (e.g., plastic cup or disposable shot glass) for mixing.
- ● Distilled water (4 oz per sample) to avoid mineral interference.
- ● Timer or stopwatch (for consistent strip exposure).
- ● White paper towel or plate (to lay strips flat for accurate color matching).
- ● pH adjustment kit (lime/sulfur) if you plan to amend soil based on results.
- ● Notebook to log pH readings over time (track changes after fertilizing!).
- ● Gloves (if testing contaminated or garden soil to protect your hands).
- ● Calibration solution (for high-precision testing, though most strips don’t require it).
How to use soil pH tester strips for perfect plant care
Here's how I test soil pH quickly and accurately—no guesswork, just science-backed results.
🌱 Step 1: Collect a Representative Soil Sample
Grab a clean, dry container and dig down 3-4 inches in multiple spots around your plant or garden bed. Mix these samples together in the container—this ensures you're testing the average pH, not just one spot that might be skewed. I like to use a small trowel for this because it keeps the soil chunks manageable and prevents contamination from other areas.
Remove any visible debris like rocks, roots, or plant matter—these can skew your results. If your soil is very dry, add just enough distilled water to create a damp, crumbly texture (not soggy). This makes it easier to handle and ensures the strips get an accurate reading. Real talk: don't use tap water here—minerals in it can throw off the pH test.
💧 Step 2: Prepare the Soil Sample for Testing
Spread the damp soil evenly on a clean, flat surface like a paper plate or tray. I like to use a small plastic spoon to break up any clumps, ensuring the soil is uniform before testing. The goal is to expose fresh soil particles—this is where the pH tester strips will give you the most accurate reading.
Moisten the soil slightly with distilled water if it feels dry to the touch. You want it damp enough that it holds together when squeezed but doesn't leave water pooling. This moisture level mimics natural soil conditions and gives the strips the best chance to react accurately. Here's the thing—if your soil is too dry, the strips might not absorb enough moisture to change color properly.
✂️ Step 3: Dip the pH Tester Strips Correctly
Hold the pH tester strip by the edges—never touch the reactive pad with your fingers, as oils and dirt can interfere with the results. Dip the strip into the soil sample for 2-3 seconds, then remove and lay it flat on a clean, dry surface. You'll see the color start to change almost immediately, but wait 30 seconds before comparing it to the color chart included in your tester kit.
I tap the strip gently on the edge of the container to remove excess soil before laying it flat. This prevents smudging and ensures the color change is clear. If you're testing multiple spots, use a fresh strip for each sample—reusing strips leads to cross-contamination and inaccurate readings. Watch for the color to stabilize before comparing; it should hold steady for at least 10 seconds to give you a reliable result.
☀️ Step 4: Compare Colors and Interpret Results
Match the color of the strip to the chart provided with your tester. Most kits include a range from acidic (3.0-6.0) to alkaline (7.0-10.0), with 6.0-7.0 being the ideal range for most plants. I keep the chart near my testing area so I can compare quickly—natural light works best for accurate color matching.
If your soil tests outside the ideal range, don't panic. Acid-loving plants like blueberries or azaleas thrive in 4.5-5.5 pH, while vegetables like tomatoes and peppers prefer 6.0-7.0. Adjustments take time, so plan to amend your soil 2-3 months before planting. For example, if your soil is too alkaline, adding elemental sulfur or peat moss can lower the pH gradually.
🪴 Step 5: Record and Track Results Over Time
Write down your pH reading along with the date and location. I use a small notebook or a gardening app to track changes over time—soil pH can shift due to weather, amendments, or plant growth. This record helps you spot trends, like a gradual drop in pH after adding compost or a rise after heavy rainfall.
Retest every 3-6 months to monitor changes, especially if you've made amendments. Some plants, like hydrangeas, let you change their flower color by adjusting pH—blue flowers in acidic soil, pink in alkaline. Here's the moment that matters: if your pH stays stubbornly high or low despite amendments, consider testing your water's pH too—it might be the underlying cause.
Tips & tricks for perfect soil pH testing
These precision tips will help you avoid common mistakes and get the most accurate readings every time.
Sampling Depth Matters: When collecting your soil sample in Step 1, dig down exactly 3-4 inches—this is where most plant roots actively grow and absorb nutrients. Shallow samples (less than 2 inches) might show surface pH that doesn't reflect what your plants are actually experiencing. I've seen gardeners get confused results because they only sampled the top layer where mulch or compost might have altered the pH.
Color Chart Consistency: For Step 4, always compare your strip colors under natural light—fluorescent lighting can make colors appear slightly different. I keep my chart in a small binder near my testing area so I can reference it quickly. Pro tip: If you're colorblind, consider using a digital pH meter as a backup—it gives you a numerical reading that's impossible to misinterpret.
Timing is Everything: In Step 3, those 30 seconds of waiting before comparing colors are crucial. I've rushed this step before and gotten inconsistent results. Tap the strip gently on the container's edge to remove excess soil, then lay it flat on a clean, dry surface. The color should stabilize within 10 seconds—if it keeps changing, you might need to test again with a fresh strip.
Seasonal Considerations: Soil pH naturally fluctuates with seasons. Test in spring before planting, as winter rainfall can temporarily lower pH. I've noticed my garden soil tests about 0.5 points lower in spring compared to fall—this is normal due to increased organic matter breakdown during warmer months. Adjust your amendments accordingly based on when you test.
Pro Tips for Soil Ph Tester Strips
- These precision tips will help you avoid common mistakes and get the most accurate readings every time.
- Sampling Depth Matters: When collecting your soil sample in Step 1, dig down exactly 3-4 inches—this is where most pl...
- Color Chart Consistency: For Step 4, always compare your strip colors under natural light—fluorescent lighting can ma...
Frequently asked questions
Got questions about soil pH tester strips? You’re not alone! Here are answers to the most common queries to help you get the most accurate readings and keep your plants thriving.
How accurate are soil pH tester strips compared to lab tests?
Soil pH strips are quick and convenient, but they’re not as precise as lab tests. While they’re great for general guidance (within ±0.5 pH points), labs offer exact readings. For most gardeners, strips are perfect for monitoring trends over time—just calibrate with distilled water for best results!
How long do the strips last after opening?
Once opened, most pH strips last 1-3 months if stored in a cool, dry place (like a sealed container with a desiccant). Exposure to moisture or air can degrade accuracy faster. Check the expiration date on the package—it’s usually printed on the bottle or box!
Can I use rainwater or tap water to test soil pH?
No!
Always use distilled or deionized water to avoid contaminants (like chlorine or minerals) skewing your results. Tap water can add alkalinity, while rainwater may be too acidic. If you’re in a pinch, let tap water sit out for 24 hours to off-gas chlorine before using a tiny amount to moisten the soil sample.
What if my strips turn a weird color or give inconsistent results?
Inconsistent colors? It could mean old strips, improper storage, or contamination. Try these fixes:
- Test a fresh strip immediately after opening.
- Rinse your hands or tools to avoid residue.
- Use a new, clean soil sample (avoid fertilized or treated areas).
- Compare results with a second strip for consistency.
Are there alternatives to pH strips for testing soil?
Yes! Here’s a quick comparison:
Method
Pros
Cons
Digital pH meters
Fast, reusable, and precise (±0.1 pH)
Requires calibration; higher cost
Litmus paper (simpler strips)
Cheap and disposable
Less accurate for fine-tuning
DIY baking soda/vinegar test
Free and fun for beginners
Qualitative (not quantitative)—only tells you if soil is acidic/alkaline
Wrapping up and next steps
Testing your soil’s pH balance with soil pH tester strips is a game-changer for thriving plants—no guesswork, just science-backed results! 🌱 Whether you’re a seasoned gardener or just starting, these strips make it easy to adjust conditions for optimal growth.
Now that you’re armed with the know-how, take action: grab a tester, check your soil, and give your plants the perfect home they deserve!
🌟 Next Steps:
- Test your soil today—start with a small sample from different areas of your garden.
- Adjust as needed with amendments like lime (to raise pH) or sulfur (to lower it).
- Monitor regularly to keep your plants happy and healthy year-round!