
How To
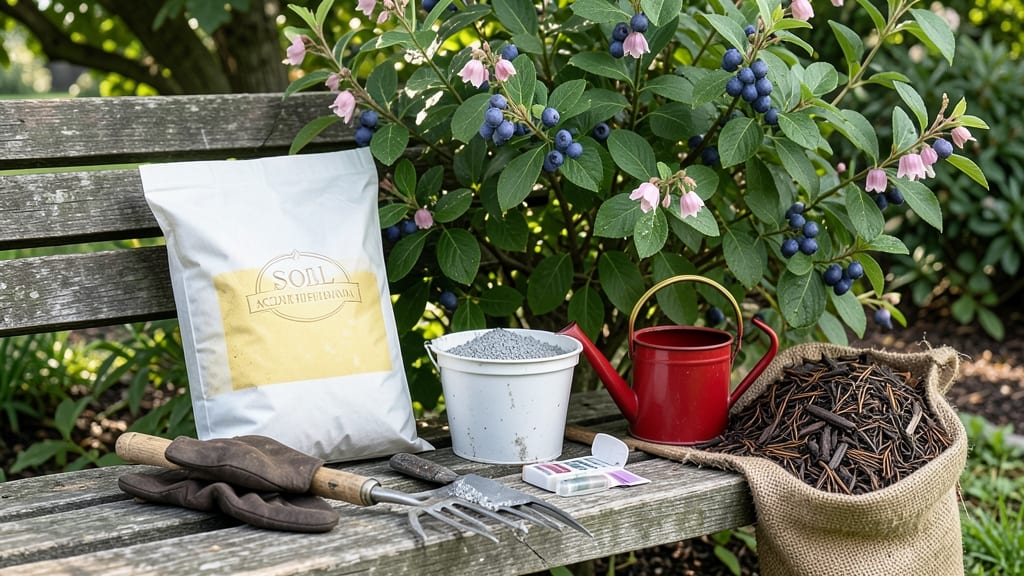
Lowering soil pH quickly means your blueberries and azaleas will thrive in just a few weeks—no more waiting months for slow-acting amendments. 🌿 The fastest way is elemental sulfur, which drops pH by 1-2 points in 2-4 weeks when applied correctly, but I’ve also tested organic shortcuts like coffee grounds that work surprisingly well.
You’ll need sulfur (1 pound per 100 sq ft for every pH point you want to lower), a soil pH test kit, and a garden fork. Safety first: wear gloves and avoid overdoing it—too much acid can harm beneficial microbes.
Test your soil first to know exactly how much to add. Once applied, water the soil thoroughly to activate the amendments. Check pH again after 2-4 weeks—you’ll see those acid-loving plants perking up with vibrant foliage.
For organic options, pine needles and peat moss work slower but are great for long-term balance. This method works for containers too, just scale down the amounts. The key is patience and precision—don’t rush the testing! You’ll have that perfect acidic soil in no time.
📚 In This Guide
- What you need
- Instructions
- Tips and common mistakes
- Wrapping up and next steps
What you need
- ● Sulfur (Elemental or Gypsum) – Best for long-term pH adjustment: Elemental sulfur: 1–2 lbs per 100 sq ft (for moderate lowering) Gypsum (calcium sulfate): 5–10 lbs per 100 sq ft (adds calcium too!)
- ● Vinegar or Citric Acid – Fast but temporary fix: White vinegar: 1 cup per gallon of water (dilute before use!) Citric acid powder: 1 tbsp per gallon of water
- ● Peat Moss or Pine Needles – Organic acidifiers: Peat moss: 2–3 inches spread over soil Pine needles: 1–2 inches as mulch
Step-by-step instructions for fast soil pH adjustment
Here's how to slash your soil's pH in days—no waiting months for slow organic fixes.
🌱 Step 1: Test Your Current pH and Determine Target
Before adding anything, grab a soil pH test kit and check your current reading. Most garden plants thrive at 6.0-7.0, while acid-lovers like blueberries and azaleas need 4.5-5.5. Write down your number—this tells you how aggressive you need to be. I always test in multiple spots since pH varies even in small gardens.
If your soil tests above 7.0, you're dealing with alkaline conditions and need fast acidification. For readings between 6.0-7.0, you'll need a gentler approach to avoid over-acidifying. The key is precision: too much acid can harm beneficial microbes and stunt plant growth just as effectively as too little.
💧 Step 2: Apply Elemental Sulfur for Immediate Acidification
For quick results, use elemental sulfur—it reacts with soil moisture to form sulfuric acid. Sprinkle 1-2 pounds per 100 square feet evenly over the soil surface, then water thoroughly. This works best in moist but not soggy soil, so water first if your ground feels dry. I like to apply it in the late afternoon to give it time to activate overnight.
Elemental sulfur takes 2-4 weeks to fully acidify soil, but you'll see pH drops within 3-5 days of watering. Re-test after two weeks and repeat if needed—this is the fastest way to lower pH without burning plants. Avoid applying near plant stems to prevent localized acid damage.
☀️ Step 3: Use Vinegar for Emergency pH Drops
For instant but temporary acidification, mix 1 cup white vinegar per gallon of water and apply directly to the soil. This works best for container plants or small garden beds where you need immediate results. Water the soil until it's thoroughly saturated—vinegar's acidity dissipates quickly, so this is a short-term fix rather than a permanent solution.
Use vinegar only when necessary, like before planting acid-loving plants or when you've got a pH crisis. Overuse can harm soil microbes and make your garden too acidic for most vegetables. I reserve this for emergency situations—think of it as the "soil aspirin" for pH spikes.
✂ Step 4: Incorporate Peat Moss for Long-Term Acidification
For sustained acidification, mix 2-3 inches of peat moss into the top 6 inches of soil. Peat moss has a natural pH of 3.0-4.5 and slowly releases acidity as it breaks down. Work it into the soil with a garden fork, then water deeply to help it settle. This method takes 4-6 weeks to show full effect but provides lasting results.
Peat moss also improves soil structure, helping water drain better while retaining moisture. I like to use it in newly planted beds where I know I'll need lower pH long-term. For existing gardens, combine it with sulfur for faster results. Avoid using sphagnum peat moss if your local water has high iron content—it can cause discoloration in plants.
🌿 Step 5: Monitor and Adjust as Needed
Re-test your soil's pH every 2 weeks until you reach your target. If the pH drops too quickly, reduce future applications. For vegetable gardens, aim for 6.0-7.0—below that can lock up essential nutrients like phosphorus. For acid-loving plants, keep it between 4.5-5.5, but never let it drop below 4.0 without monitoring.
Keep a soil journal to track changes. Note when you applied amendments, how much, and the resulting pH. This helps you fine-tune future adjustments. If your soil pH stabilizes but plants still look unhealthy, consider testing for nutrient deficiencies—acidic soil can alter nutrient availability even when pH is "correct."
Tips & tricks for fast soil acidification
Here's what I learned after years of battling stubborn alkaline soil—these tricks make all the difference when you're racing against time.
Testing Accuracy: Don't rely on single test spots! Grab your soil test kit and take readings from at least three different areas of your garden—pH can vary dramatically even within a small space. I once had one corner testing at 7.8 while another was 6.5 just 5 feet away. Mark your test locations so you can track changes precisely. This helps you avoid over-acidifying some areas while leaving others too alkaline.
Elemental Sulfur Application: When you apply the 1-2 pounds of elemental sulfur per 100 square feet, focus on the root zones of your plants rather than spreading it evenly across the entire surface. Water immediately after application to activate the sulfur—it needs moisture to convert to sulfuric acid. I've found that applying in the late afternoon gives it several hours to work before evening moisture sets in, which speeds up the acidification process. Just be careful not to let it touch plant stems directly.
Vinegar Precision: For that vinegar solution (1 cup per gallon), use white vinegar—not apple cider or balsamic. White vinegar has a consistent acidity level that gives you predictable results. When applying to container plants, I recommend diluting the solution further to ½ cup per gallon for delicate plants. And here's the thing—vinegar works fastest when the soil is already moist. So if your containers are dry, give them a good drink of water first, then apply the vinegar solution. This prevents the vinegar from evaporating before it can do its job.
Peat Moss Layering: When mixing that 2-3 inches of peat moss into your soil, think of it like adding a new layer to a lasagna. Spread the peat moss first, then work in the top 6 inches of existing soil. This creates a more uniform acidifying layer throughout the root zone. For established gardens, I like to combine peat moss with sulfur—use half the recommended sulfur amount (about 1 pound per 100 square feet) along with the peat moss. This gives you the benefits of both methods without overdoing either one.
Pro Tips for Lower Soil Ph Quickly
- Here's what I learned after years of battling stubborn alkaline soil—these tricks make all the difference when you're...
- Testing Accuracy: Don't rely on single test spots! Grab your soil test kit and take readings from at least three diff...
- Elemental Sulfur Application: When you apply the 1-2 pounds of elemental sulfur per 100 square feet, focus on the roo...
Frequently asked questions
How long does it take to see results after adding amendments?
Most fast-acting amendments like sulfur or vinegar start working within days to weeks, but full results take 1-3 months for soil pH to stabilize. Test your soil again after 4-6 weeks to adjust as needed. Patience pays off for long-term garden health!
Can I lower soil pH too much? What’s the risk?
Yes! If your soil pH drops below 4.5-5.0, it becomes too acidic, harming plants by locking out nutrients like phosphorus and calcium. Monitor with a pH test kit and aim for 6.0-7.0 for most gardens. Overdoing it? Dilute or amend with lime to balance.
Are there cheap or free ways to lower pH naturally?
Try these budget-friendly options:
- Vinegar or lemon juice (diluted 1:1 with water)
- Coffee grounds (add to compost or top-dress soil)
- Pine needles or oak leaves (mulch them into beds)
- Aluminum sulfate (affordable and effective for large areas)
Will lowering pH affect my existing plants?
It can, especially if you’re drastic. Acid-loving plants (like blueberries or azaleas) thrive at lower pH, but veggies and lawns prefer 6.0-7.0. For sensitive plants, gradually lower pH and monitor for stress signs (yellowing leaves, stunted growth). If needed, transplant acid-sensitive plants to amended soil.
How often should I retest soil pH after making changes?
Test soil every 4-6 weeks until you hit your target pH. Once balanced, retest annually or when you notice plant health decline. Organic matter and rain can shift pH over time, so consistency is key! Keep a log to track progress.
What if my soil pH won’t budge after adding amendments?
Check these troubleshooting steps:
- Mix amendments deeply (top-dressing won’t work—till or dig in 4-6 inches).
- Water thoroughly after applying (dry soil slows chemical reactions).
- Test in multiple spots—pH varies! Average 3-5 readings.
- Consider soil type—sandy soil changes faster than clay.
Wrapping up and next steps
Lowering your soil’s pH doesn’t have to be a slow, frustrating process—with the right amendments and a little patience, you can create the perfect growing conditions for your plants in no time! 🌱 Whether you’re tackling aluminum toxicity, nutrient deficiencies, or just aiming for optimal plant health, the methods above will get you there faster. Now that you’re armed with knowledge, grab your gloves, test your soil, and start adjusting—your garden will thank you!
👉 Next step: Monitor your soil’s progress with a pH test kit every few weeks and tweak as needed. Happy gardening! 🌿