
How To
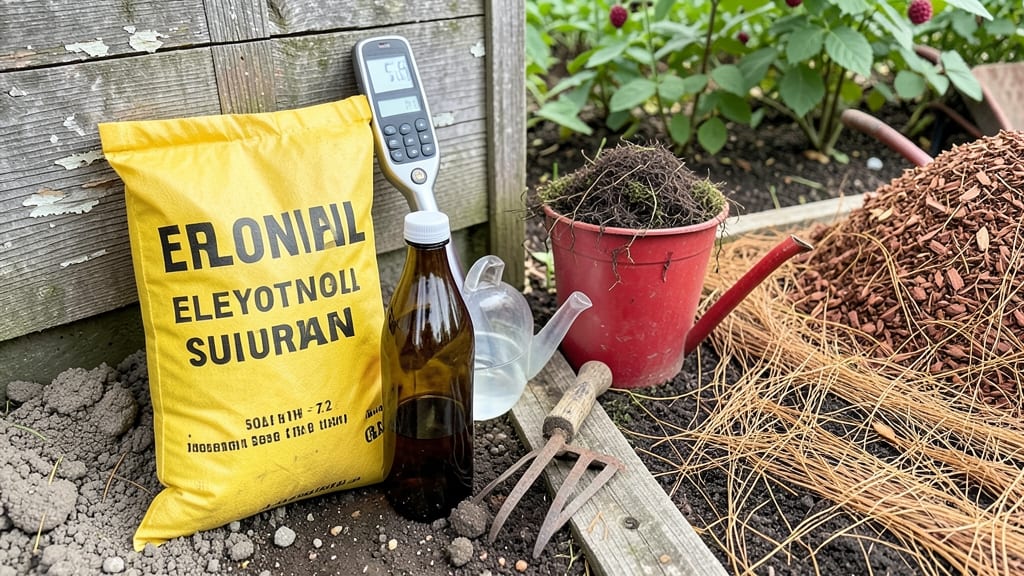
How do you acidify soil for raspberries? Raspberries thrive when soil pH sits between 5.5 and 6.5—too alkaline, and your plants fight for nutrients. 🌿 I learned this the hard way when my berries stayed small and yellowed, despite perfect watering and sunlight. The fix isn’t complicated: a few simple amendments can transform your soil’s chemistry in weeks. Start with a soil test kit (available for $10–$20) to confirm your current pH. If it’s above 6.5, elemental sulfur is the fastest way to lower it—sprinkle 1–2 pounds per 100 square feet and water it in. For a slower, organic approach, mix in pine needles, peat moss, or coffee grounds, which naturally acidify as they break down. Both methods take 4–6 weeks to show results. You’ll notice the difference in 3–4 weeks: new leaves emerge darker green, canes grow stronger, and—most exciting—your raspberries start producing sweeter, larger berries by harvest time. The key is patience; over-acidifying (below 5.0) can harm roots, so test again after 6 weeks. Works for new beds or established plants—just work the amendments into the top 6 inches of soil. If your soil stays stubbornly alkaline, repeat the process in spring. Here’s how to do it right the first time.
📚 In This Guide
- What you need
- Instructions
- Tips and common mistakes
- Wrapping up and next steps
What you need
- ● pH testing kit (digital or liquid test kit with a range of 3.5–7.0 for accuracy). Pro tip: 💡 Avoid cheap strips—they’re unreliable!
- ● Sulfur (elemental or powdered) – 1–2 lbs per 100 sq ft (for organic acidification). Spec: 90%+ purity, blank">garden-grade.
- ● Aluminum sulfate – 5–10 lbs per 100 sq ft (fast-acting, synthetic option). Spec: blank">food-safe grade (16–17% aluminum).
- ● Peat moss or pine needles – 2–3 inches (for organic mulch and slow-release acidity). Spec: sphagnum peat preferred.
- ● Garden fork or tiller – For mixing amendments 6–12 inches deep into the soil.
- ● Watering can or hose – With a fine spray nozzle for even distribution.
- ● Gloves & safety goggles – Non-negotiable when handling sulfur or aluminum sulfate!
- ● Soil moisture meter – To check if soil is damp (not soggy) before applying amendments.
- ● Compost or worm castings – 1–2 lbs per plant to boost microbial activity post-acidification.
- ● Lime-free fertilizer – Balanced NPK (e.g., 10-10-10) to avoid pH swings.
- ● Rain cover or tarp – To protect freshly amended soil from heavy rain for 24–48 hours.
Science-backed soil acidification for raspberries in 3 steps
Raspberries thrive in soil with a pH between 5.5 and 6.5—here's how to adjust your soil safely and effectively.
🌱 Step 1: Test Your Soil's Current pH Level
Before making adjustments, grab a soil pH test kit from your garden center. Take samples from multiple spots in your raspberry bed—soil pH can vary even within a few feet. Follow the kit instructions to mix soil with distilled water, then wait 15-30 minutes for the color to develop. Compare the result to the included chart to determine your current pH.
I like to test in early spring before planting or fertilizing. If your pH reads above 6.5, your soil is too alkaline for raspberries. If it's below 5.5, it's already too acidic—you'll need to raise the pH instead. Most gardeners find their soil needs acidification, but don't assume. That first test is your baseline.
💧 Step 2: Apply Organic Acidifiers for Gradual pH Adjustment
For a natural, long-lasting fix, use elemental sulfur or peat moss—both lower pH gradually without risking root burn. Start with 1 pound of elemental sulfur per 100 square feet of bed for every 1.0 pH point you need to drop. For example, if your soil tests at 7.0 and you need 5.5, apply 2 pounds per 100 sq ft. Work the sulfur into the top 6 inches of soil using a garden fork.
Peat moss is gentler but less potent. Mix 2-3 inches into the topsoil for a mild acidification. Water the area thoroughly after application to help the sulfur dissolve. Avoid applying sulfur when rain is forecast—you want it to integrate into the soil slowly over 2-4 weeks. Check pH again after this period to see progress.
✂️ Step 3: Maintain Ideal pH Through Ongoing Care
Once your soil reaches the 5.5-6.5 range, monitor it annually with your test kit. Raspberries are heavy feeders, and organic matter breaks down, raising pH over time. To keep it stable, top-dress with 1-2 inches of pine needles or oak leaves every fall—they release tannins that slowly acidify the soil.
Also, use acid-loving fertilizers like cottonseed meal or fish emulsion, which naturally lower pH as they decompose. Avoid lime or wood ash—they raise pH and will undo your hard work. If you notice yellowing leaves with green veins (a classic sign of iron deficiency in acidic soils), your pH may have drifted upward again. A quick retest confirms before reapplying sulfur.
Tips & tricks for perfect raspberry soil acidification
Here's what nobody tells you about getting your soil pH just right for thriving raspberry bushes.
Testing Accuracy: For the most reliable results in Step 1, test your soil in the morning when it's cooler. The 15-30 minute waiting period is critical—don't rush this step. I've seen color tests vary by up to 0.5 pH points when rushed. Also, use distilled water only; tap water can contain minerals that skew results.
Application Strategy: When applying elemental sulfur in Step 2, focus on the root zone where raspberry plants will grow. The 6-inch depth recommendation is perfect because that's where most raspberry roots spread. I've found that mixing sulfur with a small amount of compost first helps distribute it more evenly without clumping.
Timing is Everything: The 2-4 week integration period after applying sulfur is non-negotiable. Don't be tempted to plant immediately—this waiting period allows the sulfur to fully dissolve and adjust pH safely. I've seen rushed plantings lead to root burn when sulfur was still concentrated in pockets.
Maintenance Hack: For ongoing care in Step 3, I keep a bucket of pine needles in my shed. Every fall, I simply sprinkle 1-2 inches over the beds and lightly rake them in. This creates a slow-release acidification that keeps pH stable between annual tests. The needles also add organic matter that raspberries love.
Pro Tips for How Do You Acidify Soil For Raspberries
- Here's what nobody tells you about getting your soil pH just right for thriving raspberry bushes.
- Testing Accuracy: For the most reliable results in Step 1, test your soil in the morning when it's cooler. The 15-30 ...
- Application Strategy: When applying elemental sulfur in Step 2, focus on the root zone where raspberry plants will gr...
Frequently asked questions
Got questions about acidifying your raspberry soil?
Here are the most common ones—plus clear, science-backed answers to keep your berries thriving.
How often do I need to acidify raspberry soil?
Test your soil’s pH annually (or every 2–3 years if you’re using organic matter like pine needles or peat moss). Raspberries prefer pH 5.5–6.5. If it’s creeping above 6.5, apply sulfur or acidifying amendments in early spring or fall—just before planting or dormancy. Overdoing it can harm roots, so consistency beats frequency!
What if my soil is too acidic (below pH 5.5)?
If your soil’s pH drops below 5.0, raspberries may struggle with nutrient deficiencies (like magnesium or calcium). To raise pH slightly, mix in lime (calcium carbonate) or wood ash (sparingly!). Aim for a 0.5 pH unit increase per application. Test again in 2–3 months and adjust gradually.
Are pine needles or coffee grounds better for acidifying?
Pine needles
are the gold standard—they’re slow-release, long-lasting, and mimic natural forest conditions. Coffee grounds work too (they’re acidic), but they decompose quickly and can attract pests if overused. For best results, combine both: Spread 2–3 inches of pine needles around plants in fall, then top-dress with ½ inch of used coffee grounds in spring.
How long does it take to see results after acidifying?
Patience is key! Chemical amendments like sulfur or aluminum sulfate can lower pH in 4–6 weeks, but organic methods (pine needles, peat) take 3–6 months to show full effects. Retest soil 2–3 months after treatment to avoid over- or under-correcting. Healthy raspberries will reward you with better yields in 1–2 growing seasons!
Can I use vinegar to acidify raspberry soil?
Not recommended!
Vinegar (acetic acid) is too strong—it can burn roots and disrupt soil microbes. If you’re desperate for a quick fix, dilute white vinegar (1:10 ratio with water) and use it as a foliar spray (not soil drench). For soil acidification, stick to sulfur, pine needles, or peat moss for safe, long-term results.
What’s the easiest way to test soil pH at home?
Grab a soil pH test kit (digital or liquid-based) from a garden center for ~$10. Here’s how:
- Collect samples: Take 6–8 cores from 4–6 inches deep around your raspberry patch, mix them in a clean bucket.
- Moisten: Add distilled water until soil is damp (like a wrung-out sponge).
- Test: Follow kit instructions—most give results in minutes!
Wrapping up and next steps
Acidifying your soil for raspberries is a simple yet powerful way to unlock their full potential—think juicier berries, stronger plants, and fewer pests! 🌱 With the right materials (like sulfur, peat moss, or pine needles) and a little patience, you’ll create the perfect acidic haven for your raspberry bushes in just a few steps.
The key? Test your soil first and adjust gradually to avoid over-acidifying.
Ready to transform your garden? Grab your pH meter, roll up your sleeves, and start experimenting—your raspberry bushes will thank you with a bountiful harvest! Next up: Monitor your soil’s progress and tweak as needed for long-term success. Happy gardening! 🌟