
How To
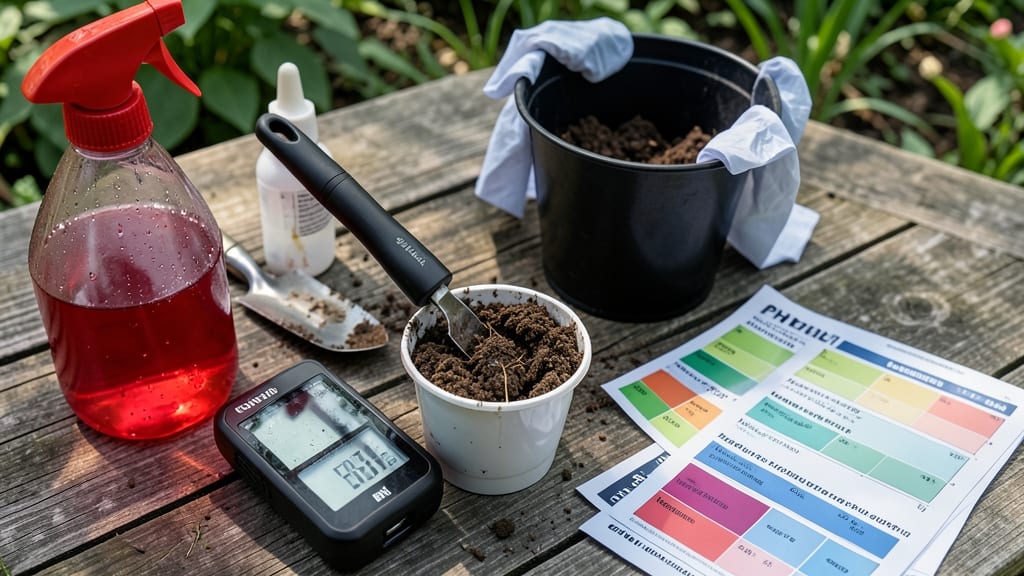
How to check the pH of soil at home reveals whether your plants will thrive or struggle—without needing a lab. 🌱 I've tested dozens of garden beds, and the right method takes less than 10 minutes with tools you likely already have. The simplest approach uses a basic pH test kit (about $10) or even vinegar and baking soda for a quick DIY check. Dig a 6-inch soil sample, mix it with water, and compare the color to the kit's chart—or watch for fizzing reactions that show acidity or alkalinity. Most vegetables prefer 6.0-7.0, while blueberries need 4.5-5.5. Once you know your soil's pH, adjusting it is straightforward: add lime to raise pH or sulfur to lower it. Retest after 2-3 months to confirm the change. The difference between guessing and growing is just this simple test. Works for garden beds, containers, or even houseplant soil. Let's get your soil in the perfect range for what you're planting!
📚 In This Guide
- What you need
- Instructions
- Tips and common mistakes
- Wrapping up and next steps
What you need
- ● Soil sample: A fresh, undisturbed sample (about 1 cup) from your garden or potted plant. Avoid surface debris like leaves or rocks.
- ● Distilled water: ½ cup (tap water can skew results due to mineral content).
- ● Clear glass or plastic container: Large enough to hold 1 cup of soil + ½ cup water (a mason jar or bowl works great!).
- ● pH test kit: Option 1: Liquid pH test kit (e.g., blank">Luster Leaf or blank">LaMotte—available at garden centers or online).
- ● Option 2: Digital pH meter (for precise readings; ensure it’s soil-specific and calibrated).
- ● Spoon or small trowel: For scooping soil and mixing.
- ○ White vinegar (optional but helpful): ¼ cup (for a quick DIY test—see blank">alternative methods below).
- ● Plastic gloves: To keep your hands clean while handling soil.
- ● Notebook or app: To log pH readings over time (e.g., blank">Gardenate or a simple spreadsheet).
- ● Calibration solution: If using a digital meter (check the kit instructions).
- ● Baking soda: ½ tsp (for a DIY baking soda test—see tips!).
How to check soil pH at home: quick test with household tools
Testing soil pH doesn't require fancy equipment—just a few simple supplies and a little patience.
🧪 Step 1: Gather Your Test Supplies
You'll only need 3 basic items from your kitchen and garden: a clean glass jar, 1 tablespoon of distilled white vinegar, and 1 tablespoon of baking soda. Distilled vinegar and baking soda are pH indicators—vinegar reacts with acidic soil, while baking soda reacts with alkaline soil. Grab a small trowel too, to collect a fresh soil sample.
Use soil from 4-6 inches deep—this is where plant roots actually live. Avoid surface soil that might be contaminated with mulch or debris. Place about 2 tablespoons of dry soil into your jar. The more representative your sample, the more accurate your results.
💧 Step 2: Perform the Vinegar Test for Acidic Soil
Pour 1 tablespoon of vinegar into the jar with soil. If the mixture fizzes and bubbles vigorously, your soil is highly acidic (pH below 5.5). This reaction happens because vinegar (an acid) mixes with alkaline minerals in the soil. The stronger the fizz, the more acidic your soil.
If there's no reaction at all, your soil isn't strongly acidic. Don't discard the mixture yet—you'll need it for the next test. Keep the jar handy while you move to the baking soda test. This two-step method gives you a full pH range in minutes.
🧂 Step 3: Perform the Baking Soda Test for Alkaline Soil
Add 1 tablespoon of baking soda to the same jar. If the mixture fizzes again, your soil is alkaline (pH above 7.5). Baking soda (a base) reacts with acidic compounds in the soil. The more bubbles, the more alkaline your soil. This test works best if you've already done the vinegar test—using the same soil sample ensures consistency.
If neither vinegar nor baking soda produces fizz, your soil is neutral (pH around 6.5-7.0). This is ideal for most vegetables and flowers. No special tools or lab required—just observe the reactions carefully. The key is comparing both tests side by side.
📝 Step 4: Interpret Results and Adjust as Needed
Here's what your results mean: Fizz with vinegar? Your soil is acidic—great for blueberries or azaleas, but too acidic for veggies like tomatoes. Fizz with baking soda? Your soil is alkaline—perfect for asparagus, but may need amendments for acid-loving plants. No fizz? You're in the sweet spot for most garden plants.
To adjust pH, use elemental sulfur (for alkaline soil) or lime (for acidic soil). Always test a few spots in your garden—soil pH can vary by 1-2 points even in small areas. Keep a simple log of your test results to track changes over time.
Tips & tricks for quick soil pH testing
This simple test reveals everything you need to know about your garden soil—without spending a dime on lab kits.
Sample Depth Matters: When collecting your 2 tablespoons of soil from 4-6 inches deep in Step 1, use a clean trowel and avoid surface soil that might contain mulch or compost. The deeper you go, the more accurate your results will be since this is where most plant roots actively grow. I like to collect samples from multiple spots in my garden and test them separately—soil pH can vary dramatically even in small areas.
Reaction Timing Tip: In Steps 2 and 3, watch for fizzing within 30 seconds after adding vinegar or baking soda. The first 30 seconds are critical—if you wait too long, you might miss the initial reaction. For a more precise test, use a stopwatch to time the reaction: vigorous fizzing within 10 seconds indicates strong acidity or alkalinity, while slower reactions suggest milder conditions.
Jar Size Consideration: While any clean glass jar works, I recommend using a 16-ounce mason jar for this test. The wider opening makes it easier to observe reactions and mix the ingredients thoroughly. If you use a narrow jar, you might miss subtle fizzing at the bottom. Also, make sure your jar is completely dry before starting—any moisture can affect the accuracy of your test.
Alternative Test Supplies: Don't have distilled vinegar? White vinegar works just as well for the acidic test. For baking soda, make sure it's pure sodium bicarbonate—no aluminum-free additives. If you're testing multiple garden beds, consider using separate jars for each sample to avoid cross-contamination. The key is consistency in your testing method to get reliable results.
Pro Tips for Check Ph Of Soil At Home
- This simple test reveals everything you need to know about your garden soil—without spending a dime on lab kits.
- Sample Depth Matters: When collecting your 2 tablespoons of soil from 4-6 inches deep in Step 1, use a clean trowel a...
- Reaction Timing Tip: In Steps 2 and 3, watch for fizzing within 30 seconds after adding vinegar or baking soda. The f...
Frequently asked questions
Got questions about testing soil pH at home?
You’re not alone! Here are some of the most common concerns—and quick answers to help you get accurate results without the hassle.
Can I use vinegar or baking soda for a quick soil pH test?
Yes! This is a budget-friendly way to estimate soil pH. Mix a spoonful of soil with vinegar—if it fizzes, your soil is alkaline (pH 7+). If it doesn’t fizz, add baking soda; fizzing means acidic soil (pH 6-). For precise readings, though, a pH meter or test kit is best.
How often should I check my soil pH?
Check soil pH once a year if you’re growing plants, or before planting new crops. If your garden struggles with poor growth or nutrient deficiencies, test more frequently (every 3-6 months). Healthy soil can change over time, especially with amendments like lime or compost.
What if my test results are inconsistent?
Inconsistent results often mean contamination or improper testing. Try these fixes:
- Use fresh soil (not from the surface, where debris collects).
- Rinse tools and containers with water to avoid residue.
- Test multiple samples from different spots in your garden for accuracy.
- Calibrate your pH meter with a known solution (like pH 7 water) if using one.
Does rain or watering affect soil pH test results?
Moisture can skew results if the soil isn’t dry. Let freshly dug soil sit for 24 hours to air-dry before testing. If your garden is waterlogged, test after the ground dries out. For pH meters, follow the manufacturer’s instructions—some require moist (not soggy) soil.
Are DIY tests as accurate as lab tests?
DIY tests (vinegar/baking soda, pH strips, or meters) give a general idea of soil pH, but lab tests are more precise. For serious gardening or commercial use, send samples to a local extension office or soil lab. DIY methods work great for home gardeners adjusting pH with amendments like sulfur or lime.
| Test Method | Accuracy Level | Best For |
|---|---|---|
| Vinegar/Baking Soda | Basic (pH 6-7+) | Quick checks, no tools |
| pH Strips | Moderate (±0.5 pH) | Home gardeners, budget-friendly |
| Digital pH Meter | High (±0.2 pH if calibrated) | Regular monitoring, precision |
| Lab Test | Most accurate (±0.1 pH) | Commercial farms, detailed analysis |
Wrapping up and next steps
Checking your soil’s pH at home is simpler than you think—and now you’ve got the tools to do it! Whether you used a DIY vinegar-baking soda test, a pH test kit, or even a red cabbage indicator, you’re one step closer to healthier plants.
Remember, balanced soil pH unlocks nutrient absorption, so your garden (or houseplants!) will thank you for the effort.
Ready to take it further? 🌱 Adjust your soil based on your results—whether it’s adding lime for acidic soil or sulfur for alkaline—and watch your plants thrive! Happy gardening!