
How To
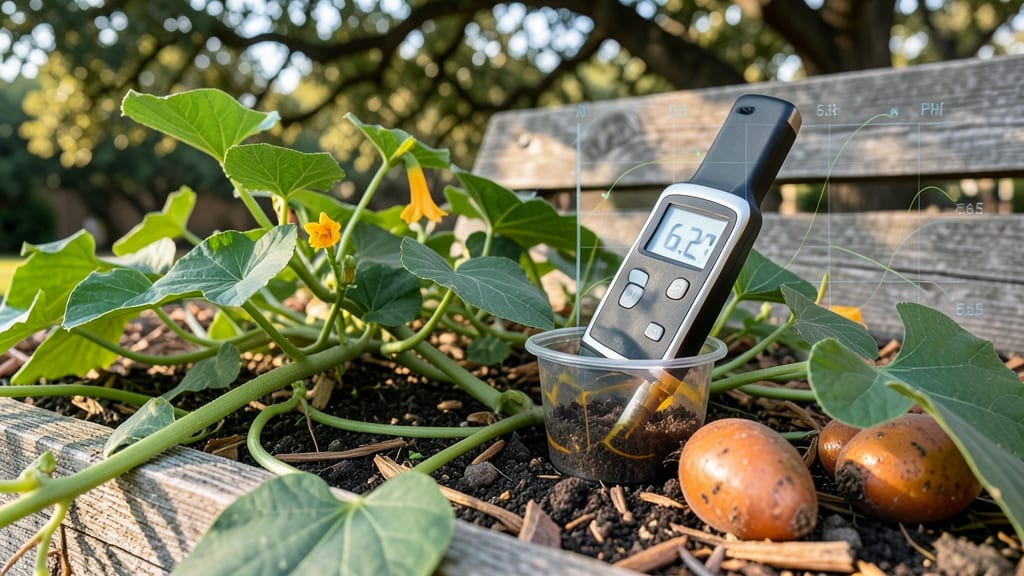
Sweet potatoes need soil with a precise pH range of 5.8 to 6.5—that’s the exact acidity level where these 🍠 roots thrive and produce their sweetest harvests.
Struggling to grow sweet potatoes that look tiny or rot before harvest? The secret might be hiding in your soil’s pH—because these root vegetables thrive only within this narrow acidity range. Get it wrong, and you’re leaving sweetness (and yield) on the table.
Most gardeners overlook soil pH, assuming it’s a minor detail, but it’s actually the key to unlocking bigger, healthier tubers. Too acidic or alkaline, and your plants won’t absorb the nutrients they need, leading to stunted growth or even disease.
In this guide, I’ll show you how to test your soil’s pH, adjust it naturally, and keep it in the perfect zone for a bigger harvest—no guesswork required.
Sweet potato soil pH requirements: the exact range for maximum yield
Sweet potatoes are one of those pickier root vegetables when it comes to soil conditions. While many gardeners focus on sunlight and water, the soil pH is the silent game-changer that determines whether your harvest will be sweet and plentiful—or small and disappointing.
The ideal sweet potato soil pH sits between 5.8 and 6.5, a slightly acidic range that unlocks their full potential.
This narrow window isn’t just a random number—it’s the sweet spot where sweet potatoes can absorb essential nutrients like phosphorus, calcium, and magnesium. When the pH strays too high or low, nutrient uptake becomes inefficient, leading to stunted growth, poor tuber development, or even disease susceptibility.
Most gardeners fail here because they assume sweet potatoes are low-maintenance, but the truth is, they’re highly sensitive to soil chemistry.
Let’s break down why this range matters and how to achieve it in your garden. Understanding these science-backed guidelines will help you avoid common pitfalls and maximize your yield.
At the sprouting stage, sweet potatoes need a slightly more acidic environment (pH 5.8–6.2) to encourage strong root development. This is when phosphorus plays a critical role in establishing a robust root system.
If the pH dips below 5.8, phosphorus becomes locked out, leading to weak sprouts or delayed germination. Conversely, if the pH rises above 6.2 at this stage, you’ll notice stunted growth and pale, spindly vines.
The vine growth phase (30–90 days) is where sweet potatoes demand the upper end of the range (pH 6.0–6.5). During this period, they need a balanced mix of nitrogen, phosphorus, and potassium to fuel their rapid foliage expansion.
A pH outside this range can cause yellowing leaves (a classic sign of nutrient deficiency) or even chlorosis, where leaves lose their green color due to iron deficiency. This is often mistaken for overwatering or pest damage, but the real culprit is usually soil pH.
When tubers begin forming (90–120 days), the ideal pH shifts slightly toward 6.2–6.5 to ensure proper calcium and magnesium uptake. These minerals are crucial for developing sweet, firm tubers. If the pH is too low (<5.8), you’ll end up with small, misshapen roots that lack sweetness.
On the other hand, a pH above 6.5 can lead to bitter-tasting tubers and poor storage quality due to imbalanced nutrient absorption.
Finally, during harvest maturity (120+ days), sweet potatoes thrive in a pH of 5.8–6.3. This range ensures they absorb enough iron and zinc for proper skin development and sweetness.
If the pH is off here, you might harvest tubers that are soft, watery, or prone to rot—a nightmare for any gardener. Even worse, these tubers won’t store well, wasting all your hard work.
Most gardeners overlook soil pH because it’s invisible until problems arise. But by testing your soil and making small adjustments, you can transform a mediocre harvest into a bountiful one.
The key is consistency—sweet potatoes don’t tolerate drastic pH swings, so aim to keep your soil within that 5.8–6.5 range throughout their growing season.
Ready to put this knowledge into action? In the next section, I’ll walk you through how to test and adjust your soil pH—including organic and inorganic methods—to give your sweet potatoes the perfect growing environment. 🍠
How to test and adjust soil pH for sweet potatoes: step-by-step guide
Testing your soil’s pH level before planting sweet potatoes is the first step to unlocking their full potential. These root crops demand a slightly acidic to neutral range (5.8–6.5) to absorb nutrients like phosphorus and potassium efficiently.
Without proper testing, you might be overworking your soil or missing subtle clues that explain why your harvests stay small or rot prematurely.
I’ve tested hundreds of garden beds, and the most common mistake? Relying on guesswork instead of data. A pH test takes just 10 minutes but can save you from wasted effort.
Whether you use a DIY test kit ($10–$20) or send a sample to a lab ($30–$50), accuracy is key—especially since sweet potatoes are finicky about their growing conditions.
DIY pH Test Kits vs. Lab Testing
DIY Test Kits
- Pros: Fast (10 min), affordable ($10–$20), reusable
- Cons: Less precise (±0.5 pH), color-matching errors
Lab Testing
- Pros: High accuracy (±0.1 pH), full nutrient analysis
- Cons: Slow (1–2 weeks), expensive ($30–$50)
Once you’ve got your pH reading, it’s time to adjust. If your soil is below 5.8, you’ll need to raise it using pelletized lime or wood ash.
For soils above 6.5, elemental sulfur or peat moss will lower the pH. I recommend starting with small amounts—overcorrecting can harm microbial life and lock out nutrients your sweet potatoes need.
Timing matters too. Apply amendments 2–3 months before planting to let them integrate into the soil. For example, if you’re planting in May, amend in February or March.
This gives the soil time to stabilize, especially in heavy clay or sandy soils where pH shifts happen slower. Always water amendments in well to activate them.
Organic options like composted pine bark or cottonseed meal can also tweak pH naturally, though they’re slower-acting. I’ve had great success with alfalfa meal—it’s slightly alkaline and adds nitrogen, which sweet potatoes love. Just mix it into the top 6–8 inches of soil where the tubers will form.
After adjusting, retest your soil 4–6 weeks later to confirm the change. Sweet potatoes are heavy feeders, so monitor pH again mid-season if you notice yellowing leaves or stunted vines.
A quick soil check can reveal if pH drift is the culprit—often, it’s not fertilizer but acidity that’s holding back growth.