
Vegetables
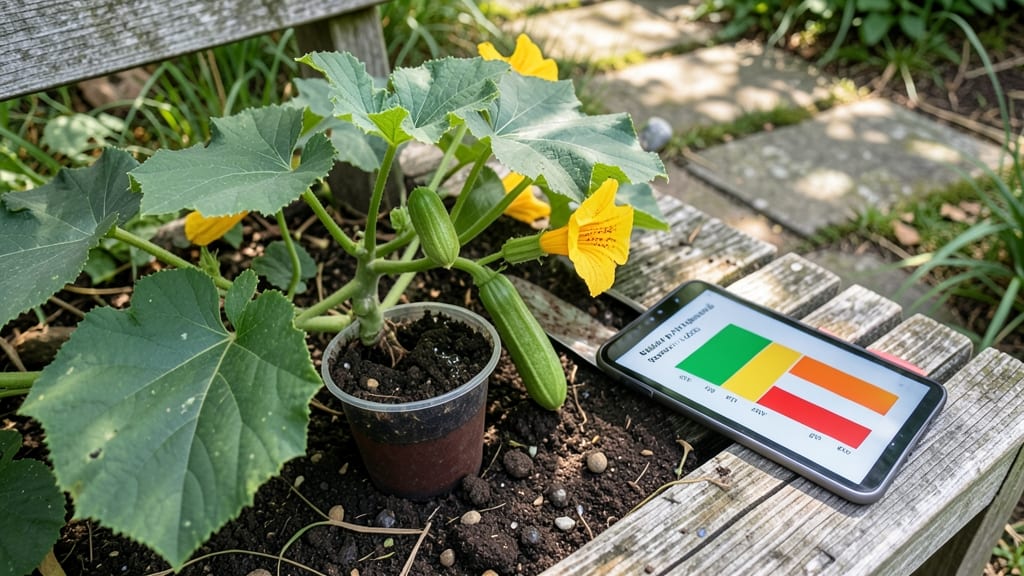
Growing squash 🎃 depends on soil pH levels that most gardeners overlook—get it wrong, and you’ll end up with stunted plants, bitter fruit, or even total failure.
Squash plants thrive when soil pH is just right—but get it wrong, and you’ll battle poor growth, bitter fruits, and even plant death. The secret to a bountiful harvest lies in understanding and adjusting soil pH before planting.
Too acidic or alkaline, and your squash won’t absorb the nutrients it needs, no matter how much you fertilize. Luckily, testing and adjusting pH is fast and straightforward once you know the right steps.
In this guide, I’ll walk you through the ideal pH range for squash, how to test your soil, and the quickest ways to fix it—so you can grow healthy, productive plants all season long.
Optimal soil pH range for squash: what the numbers really mean
Squash plants—whether you're growing butternut, zucchini, or acorn squash—need soil with a pH between 6.0 and 7.0 to thrive. This slightly acidic to neutral range ensures they absorb essential nutrients like nitrogen, phosphorus, and potassium efficiently.
Think of pH as the foundation of your squash's health: get it right, and you'll see strong vines, abundant flowers, and sweet, plump fruits.
But here's the catch: seedlings and mature plants have slightly different needs. Young squash plants prefer a mildly acidic environment (around 6.0–6.5), while mature plants tolerate a neutral pH (6.5–7.0).
Ignoring these nuances can lead to stunted growth, yellowing leaves, or even bitter-tasting fruit. The key is balancing pH to match your squash's growth stage.
Soil pH affects more than just growth—it directly impacts nutrient availability. For example, a pH below 6.0 locks out phosphorus and calcium, while a pH above 7.5 makes iron and manganese unavailable.
Without these nutrients, your squash plants may develop leaf curl, weak stems, or poor fruit set. The result? Fewer harvests and more frustration.
Let’s break down what these numbers mean in real terms. A pH of 6.0 is ideal for early-stage seedlings, helping them establish strong roots. As plants mature, a pH of 6.5–7.0 supports robust flowering and fruit development.
Even a 0.5 pH shift can alter nutrient uptake by up to 30%, so precision matters.
| Growth Stage | Optimal pH Range | Key Nutrients Affected | Symptoms of Imbalance |
|---|---|---|---|
| Seedlings | 6.0–6.5 | Phosphorus, Calcium | Stunted growth, weak stems |
| Vegetative Growth | 6.2–6.8 | Nitrogen, Potassium | Yellowing leaves, slow vine growth |
| Flowering/Fruiting | 6.5–7.0 | Magnesium, Iron | Poor fruit set, bitter taste |
| Mature Plants | 6.8–7.0 | Zinc, Manganese | Leaf spots, reduced yield |
If your soil pH strays outside this range, your squash plants will show clear signs of distress. For instance, a pH below 5.5 can cause aluminum toxicity, leading to brown, crinkled leaves.
Meanwhile, a pH above 7.5 may result in chlorosis (yellowing between leaf veins) due to iron deficiency. These symptoms aren’t just cosmetic—they directly impact your harvest.
Testing your soil’s pH is the first step to success. Use a home pH test kit or send a sample to your local cooperative extension service for precise results. Once you know your soil’s pH, you can make targeted adjustments.
For example, if your soil is too acidic (below 6.0), add pelletized lime to raise the pH. If it’s too alkaline (above 7.0), mix in elemental sulfur or peat moss to lower it.
Timing is everything when adjusting pH. Aim to amend your soil 4–6 weeks before planting to give the amendments time to work. For example, if you’re planting squash in mid-May, start adjusting pH in early April.
This ensures the soil pH stabilizes before seedlings emerge, giving them the best possible start.
Remember, squash plants are heavy feeders, so maintaining the right pH isn’t a one-time task. Monitor your soil throughout the growing season, especially if you notice unexpected leaf discoloration or poor fruit development.
Small, regular adjustments—like adding a compost top dressing—can keep your soil pH in check without overworking your plants.
By mastering soil pH, you’ll unlock the full potential of your squash plants. The difference between a mediocre harvest and a bountiful one often comes down to these simple numbers. Start testing and adjusting today, and watch your squash thrive! 🎃
How to test and adjust soil pH for squash in 3 simple steps
Getting your soil pH right is the difference between vibrant squash vines and stunted, bitter fruits. Most gardeners overlook this simple test, but squash thrives in a slightly acidic to neutral range (6.0–7.0).
The good news? Adjusting it takes just 3 simple steps and a little patience. Let’s break it down so you can prep your garden bed like a pro.
First, you’ll need to test your soil’s current pH. This isn’t guesswork—it’s science. You can grab a home soil test kit (around $10) or invest in a digital pH meter ($20–$50) for faster results.
I recommend testing in multiple spots in your garden, since pH can vary even in small areas. Dig a 6-inch hole, collect soil, and follow the kit instructions. Most kits give you results in 24 hours.
3-Step Soil pH Adjustment Guide for Squash
-
Step 1: Test Your Soil
Use a soil test kit or digital meter to check pH. Aim for 6.0–7.0—squash’s sweet spot. If your soil is below 6.0, it’s too acidic; above 7.0 means it’s alkaline. -
Step 2: Choose Your Amendment
For acidic soil (pH < 6.0): Sprinkle pelletized lime (organic) or hydrated lime (faster-acting). For alkaline soil (pH > 7.0): Mix in elemental sulfur or peat moss. Work amendments into the top 6–8 inches of soil. -
Step 3: Wait and Retest
Give it 2–4 weeks for amendments to take effect, then retest the soil. For precise results, water the area lightly before testing. If pH is still off, repeat Step 2 with smaller adjustments—overdoing it can throw nutrients out of balance.
Once you’ve adjusted the pH, wait 2–4 weeks before planting your squash seeds. This gives the amendments time to integrate fully into the soil. I like to water the bed lightly a few days before planting to help distribute the amendments evenly.
If you’re in a hurry, you can plant in raised beds—they warm up faster and let you control soil conditions more precisely.
Remember, organic amendments like peat moss or compost take longer to work but improve soil structure over time. For a quick fix, chemical amendments like lime or sulfur are your best bet.
Just be careful—too much lime can make soil alkaline, while excess sulfur can acidify it too much. Start with small amounts and retest often.
After planting, monitor your squash plants for signs of stress. Yellowing leaves? That could mean pH is still off or nutrient deficiencies. Healthy squash should have deep green leaves and strong vines.
If you see stunted growth, retest the soil and adjust again if needed. A little patience now means bigger, sweeter squash later.
Don’t let soil pH stress your squash—test, adjust, and plant with confidence. With these 3 steps, you’ll be well on your way to a thriving garden bed full of homegrown squash. Happy gardening! 🎃