
How To
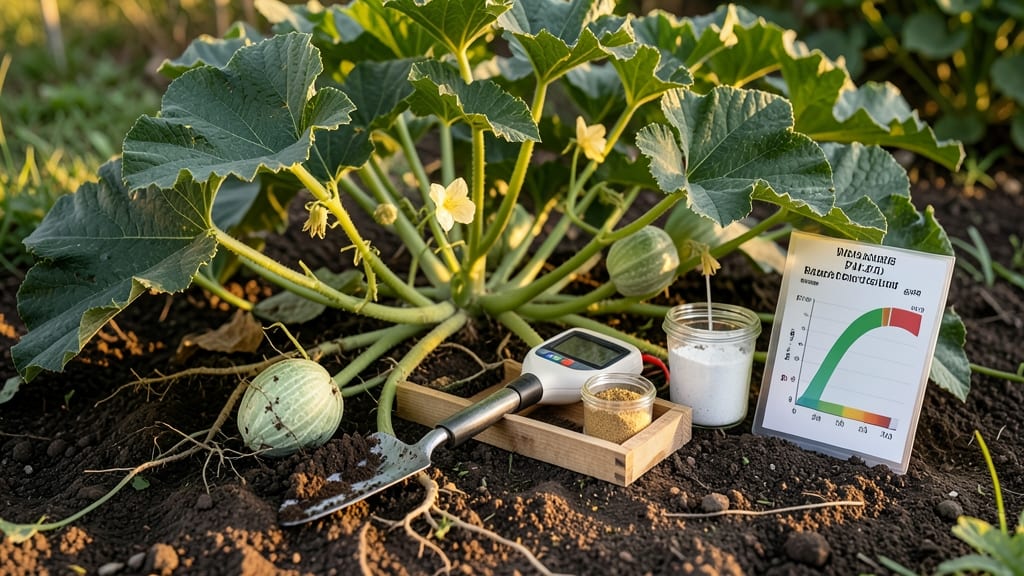
The ideal soil pH for cantaloupe is between 6.0 and 6.8, where your vines will thrive and your fruit turns sweet and juicy 🍈.
If you’ve ever bitten into a cantaloupe that tastes more like water or has an oddly bitter aftertaste, your soil’s pH might be the sneaky culprit. Too acidic or alkaline, and your plants struggle to absorb the nutrients they need—even if you’re watering and fertilizing just right.
Getting the pH right isn’t just about avoiding bland fruit; it’s the difference between a bountiful harvest and plants that wilt, yellow, or fail to set fruit. The good news? Testing and adjusting your soil’s pH is faster and easier than you think—no lab degree required.
In this guide, I’ll walk you through the exact steps to test your soil, fix common pH problems, and keep your cantaloupe plants happy from planting in April-May to harvest in July-August. No guesswork, just sweet results.
Optimal soil pH range for cantaloupe growth & sweetness
Cantaloupes thrive when your soil’s pH level falls between 6.0 and 6.8, creating the perfect balance for nutrient uptake and sweet fruit development.
This range isn’t just a number—it’s the sweet spot where cantaloupes absorb the right mix of phosphorus, potassium, and calcium to develop their signature flavor and texture.
When pH strays too acidic (<6.0) or alkaline (>6.8), your plants may struggle to access essential nutrients, leading to bitter fruit or poor yields. Understanding this balance is key to growing cantaloupes that burst with sweetness rather than disappointment.
Why does pH matter so much? At the ideal 6.0–6.8 range, cantaloupes can efficiently take up micronutrients like iron, zinc, and manganese, which directly influence fruit sweetness and vine health.
For example, a pH below 5.5 locks out phosphorus, causing stunted growth, while a pH above 7.5 reduces manganese availability, leading to yellowing leaves and weak stems. Even slight deviations—like a pH of 5.8 or 7.0—can stress plants, making them more susceptible to disease and pests.
The good news? Adjusting pH is simpler than you think, and the payoff is worth it for home gardeners eager to grow cantaloupes that rival store-bought sweetness.
The 6.0–6.8 range isn’t just a recommendation—it’s a science-backed target for cantaloupes. In this zone, plants efficiently absorb calcium, which prevents blossom-end rot, and magnesium, crucial for photosynthesis. Without these nutrients, even the hardiest cantaloupe varieties will produce fruit that’s pale, bland, or downright bitter.
For example, if your soil tests at 5.5, phosphorus becomes unavailable, and your plants may develop purple stems—a classic sign of deficiency. On the flip side, a pH above 7.0 can cause iron chlorosis, where new leaves turn yellow while veins stay green, stunting growth and reducing fruit quality.
Regional soil differences play a huge role in cantaloupe success. In northern climates with naturally acidic soils (like the Pacific Northwest), gardeners often need to add pelletized lime before planting to raise pH. Meanwhile, in southern statesDIY pH test kits that give results in minutes.
Pro tip: Take samples from multiple spots in your garden, as pH can vary even within a small area.
Micronutrient interactions are where the magic happens for cantaloupe sweetness. For instance, boron (best absorbed at pH 6.0–6.8) is critical for cell wall development, ensuring your fruit stays firm and flavorful. Without enough boron, cantaloupes may develop cracked skins or hollow centers.
Similarly, copper and zinc—also more available in the ideal pH range—support enzyme activity that enhances sugar production. These micronutrients work behind the scenes, but their availability hinges on getting your soil pH just right.
One common misconception is that cantaloupes can tolerate a wide pH range, but the truth is more nuanced. While some plants (like blueberries) thrive in acidic soil, cantaloupes are moderate pH lovers.
Even a slight dip below 6.0 or rise above 6.8 can trigger nutrient imbalances, leading to problems like magnesium deficiency (yellow patches between leaf veins) or calcium deficiency (blossom-end rot).
The key is consistency—once you adjust your soil, monitor pH annually, especially if you’re adding organic matter like compost, which can gradually lower pH over time.
If you’re growing cantaloupes in containers, pH management becomes even more critical because potting mixes can dry out faster and lose nutrients. Use a balanced fertilizer (like 10-10-10) every 4–6 weeks to replenish nutrients, and mix in perlite or vermiculite to improve drainage. Container gardeners should also retest pH every 2–3 months, as watering with tap water (which may be slightly alkaline) can slowly raise soil pH over time. A quick fix for container cantaloupes with high pH? Add a handful of sphagnum peat moss to your potting mix to gently acidify the soil.
Getting your soil pH just right is the secret to growing cantaloupes with that signature sweetness. The ideal range for cantaloupe is 6.0–6.8, but most home gardeners don’t even know their soil’s current pH. Without testing, you might be overcorrecting or missing the mark entirely. Let’s fix that with a straightforward 3-step process that saves time and money. First, you’ll need to know whether your soil is too acidic or alkaline. A simple DIY pH test kit (around $10) gives you results in 10 minutes, while lab tests cost more but offer precise data. For cantaloupe, even a slight pH shift can mean the difference between bitter fruit and sweet, juicy perfection. Once you’ve got your numbers, we’ll adjust using organic or synthetic amendments—no guesswork. ⚠️ Pro Tip: Test your soil at least 2 weeks before planting. Adjustments take time to sink in, and rushing leads to wasted effort. Think of it like prepping your garden’s foundation—get it right, and your cantaloupes will thrive. Use a DIY test kit or send a sample to a lab. For cantaloupe, aim for 6.0–6.8. If your pH is below 6.0, add pelletized lime; if above 6.8, use elemental sulfur. For acidic soil (pH < 6.0), mix in pelletized lime (1–2 lbs per 100 sq ft). For alkaline soil (pH > 6.8), apply elemental sulfur (1–2 lbs per 100 sq ft). Work amendments into the top 6 inches of soil. Give amendments 2–4 weeks to take effect. Retest your soil pH to confirm it’s in the 6.0–6.8 range. If needed, repeat adjustments. Peat moss can also help lower pH naturally over time. Timing is everything when adjusting soil pH. If you plant cantaloupe too soon after amending, the roots may struggle to access nutrients. Always test 2 weeks before planting and give yourself a buffer. For example, if you’re planting in May, start testing in April to avoid last-minute fixes. Common mistakes include over-amending (which can lock out nutrients) or using the wrong type of amendment. For instance, quicklime raises pH faster but can burn roots, while pelletized lime is gentler. Stick to the recommended amounts and retest—your cantaloupe’s sweetness depends on it. Once your soil pH is perfect, your cantaloupes will reward you with richer flavor and better yields. Happy gardening—your taste buds will thank you! 🍈How to test and adjust soil pH for cantaloupe in 3 simple steps
Step-by-Step Guide to Perfect Cantaloupe Soil pH