
How To
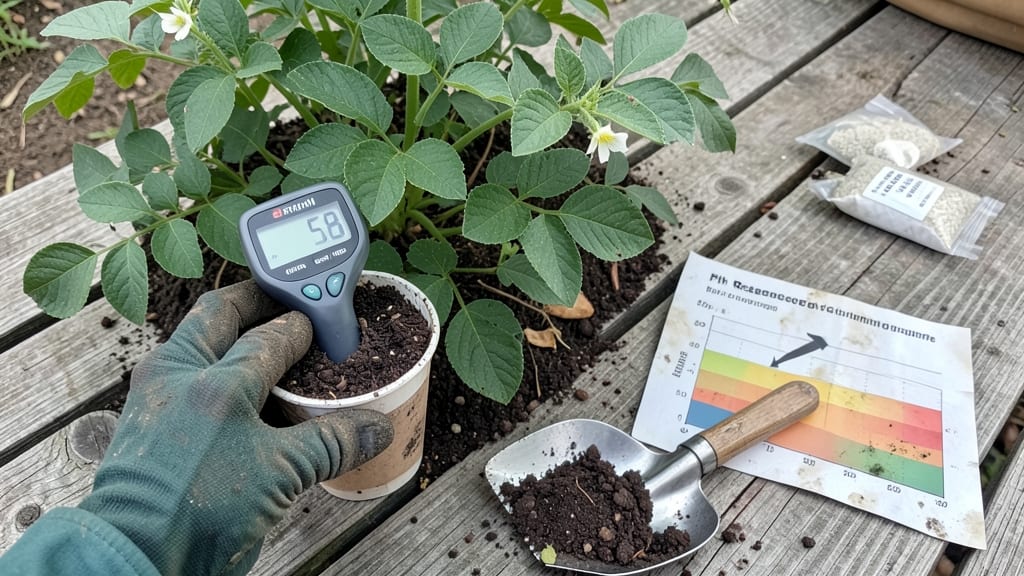
Growing potatoes with the right soil pH for potatoes is the difference between a garden full of bountiful tubers and a patch of stunted plants.
Struggling to grow potatoes that thrive? The secret lies in your soil’s pH—get it wrong, and even the best tubers will underperform. 🥔 Potatoes are picky about their soil conditions, and a pH outside their ideal range can leave you with small, misshapen harvests.
Most gardeners don’t realize how much pH affects nutrient uptake—too acidic or alkaline, and your potatoes won’t get the phosphorus and potassium they need to grow strong roots and plump tubers.
In this guide, I’ll break down the perfect pH range for potatoes, how to test your soil, and the easiest organic fixes to get your garden ready for a maximum harvest.
Optimal soil pH for potatoes: the science-backed range
Potatoes are finicky about their growing conditions, and soil pH tops the list of critical factors. The ideal soil pH for potatoes falls between 5.0 and 6.5, creating the perfect balance for nutrient absorption.
When pH strays outside this range, your plants struggle to access essential minerals like phosphorus and potassium, leading to poor tuber development. Think of it like a lock-and-key system: the right pH unlocks the nutrients your potatoes need to thrive.
Why does pH matter so much? Potatoes are acid-loving plants, meaning they prefer slightly acidic to neutral soil. At a pH below 5.0, aluminum and manganese become toxic, while a pH above 6.5 locks out phosphorus and zinc.
Both extremes stunt growth and reduce yield. Even if you’re using high-quality seed potatoes and providing full sun, off-pH soil will sabotage your harvest before it starts.
Here’s the kicker: pH affects tuber quality too. When soil pH is optimal, your potatoes develop firm, high-starch tubers with fewer blemishes. But when pH is wrong, you’ll notice yellowing leaves, stunted plants, or even scabby skins—a classic sign of calcium deficiency triggered by poor nutrient uptake.
Let’s break down what happens when pH goes rogue. In acidic soil (pH < 5.0), your potatoes may show purple or brown leaf edges due to aluminum toxicity. Meanwhile, alkaline soil (pH > 6.5) causes yellowing between leaf veins (chlorosis) as iron and manganese become unavailable.
Both scenarios leave your plants weak and your harvest disappointing.
| Soil pH Range | Nutrient Availability | Plant Symptoms | Tuber Quality |
|---|---|---|---|
| Below 5.0 (Too Acidic) | Aluminum/Manganese Toxic | Purple/brown leaf edges, stunted growth | Small, misshapen tubers |
| 5.0–6.5 (Ideal) | Phosphorus/Zinc Optimal | Healthy green foliage, vigorous growth | Large, firm, high-starch tubers |
| Above 6.5 (Too Alkaline) | Phosphorus/Zinc Locked Out | Yellowing between veins, weak stems | Scabby skins, poor yield |
Most gardeners assume their soil is fine because it “looks good,” but soil pH is invisible until problems appear. The good news? Testing your soil is simple with a DIY pH kit (available at garden centers for under $10).
Dig a 6-inch hole, collect a sample, and follow the kit’s instructions. If your pH is off, don’t panic—amendments like elemental sulfur (to lower pH) or pelletized lime (to raise pH) can fix it in weeks.
For example, if your test shows a pH of 7.0, aim to lower it to 6.0 by mixing in 1 pound of sulfur per 100 square feet. Work the amendment into the top 6 inches of soil and water thoroughly.
Repeat the test in 4–6 weeks to check progress. Patience is key—rushing amendments can disrupt microbial life in your soil, harming long-term health.
Organic gardeners can also use compost or coffee grounds to gently acidify soil, though these methods are slower. The key is consistency: monitor pH annually, especially if you rotate crops or amend soil frequently.
A well-balanced pH ensures your potatoes access nitrogen for foliage, phosphorus for roots, and potassium for disease resistance, all critical for a bumper harvest.
Remember, pH isn’t static. Rain, compost breakdown, and even seasonal changes can shift it. If you notice yellowing leaves mid-season, retest your soil—it might be time for a quick adjustment. With the right pH, your potatoes will reward you with abundant, disease-resistant tubers that store beautifully for months.
Don’t let pH mysteries ruin your harvest. Start with a simple test, make small adjustments, and watch your potato plants thrive in soil that’s perfectly tuned for their needs. Happy digging! 🥔
How to test and adjust soil pH for potatoes
Testing your soil pH before planting potatoes is one of the simplest ways to ensure a high-yield harvest. Potatoes thrive in slightly acidic soil with a pH range of 5.0 to 6.5.
If your soil is too alkaline or acidic, your plants may struggle to absorb essential nutrients like phosphorus and potassium, leading to stunted growth or poor tuber formation.
I’ve used both DIY pH test kits and professional lab tests over the years, and while lab tests are more precise, home kits are perfect for most gardeners. The key is acting on the results—whether you need to lower or raise your soil pH—before planting.
Let’s break down how to test and adjust your soil for potato success.
⚠️ Warning: Overcorrecting pH is a Common Mistake!
Adding too much lime to raise pH or sulfur to lower it can disrupt your soil’s microbiome and nutrient balance. Always test your soil again 2-3 months after amending to avoid over-limeing or creating toxic conditions for your potatoes.
To test your soil pH, start by collecting samples from multiple spots in your garden—at least 5-6 inches deep where your potatoes will grow. Mix these samples together, remove debris, and let them dry.
Use a DIY test kit by following the package instructions, or send a sample to a local agricultural extension office for a detailed report.
If your soil is too alkaline (pH > 6.5), you’ll need to lower the pH using organic matter like peat moss, pine needles, or elemental sulfur.
For every 1 point you need to lower, apply 2-4 pounds of sulfur per 100 square feet and mix it into the top 6-8 inches of soil.
For acidic soil (pH < 5.0), add pelletized lime—about 5 pounds per 100 square feet to raise the pH by 1 point.
Timing matters too! Amend your soil 2-3 months before planting to give the adjustments time to take effect. In cooler climates, you might adjust in early spring, while in warmer regions, fall amendments work well. Always water your soil thoroughly after adding amendments to help them integrate.
Once you’ve adjusted your soil pH, monitor your potatoes for signs of improvement. Healthy plants will show dark green leaves, strong stems, and vigorous growth.
If you notice yellowing leaves or stunted plants, it could signal another issue—like nutrient deficiency—but it’s often a sign your pH is still off. Keep testing and tweaking until you see those perfect potato hills!