
How To
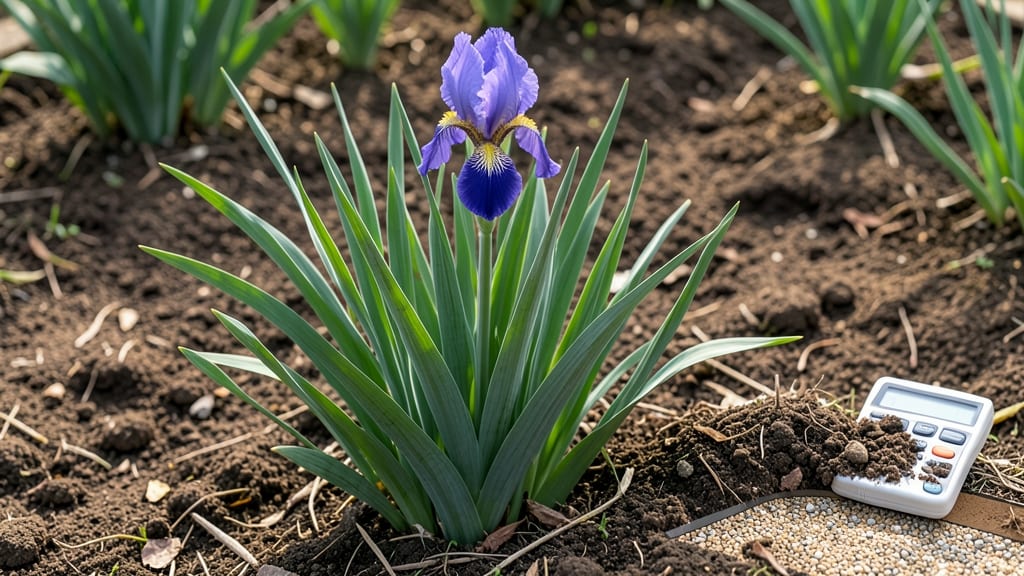
Your iris blooms deserve soil that mimics their natural prairie roots—well-draining loam with gritty texture and just enough organic matter to hold moisture without suffocating roots. 🌿 I’ve learned the hard way that soggy soil turns iris rhizomes into mushy messes, while sandy soil leaves them thirsty and weak.
The secret lies in striking that balance: loose, crumbly, and slightly acidic to neutral (pH 6.0–7.0), with enough sharp sand or perlite to keep water moving.
Start with your existing soil’s base—irises hate heavy clay or waterlogged spots—and amend it with equal parts compost and coarse sand (or perlite for better drainage). A simple soil test ($20 at garden centers) reveals if your pH needs adjusting; sulfur lowers it, while lime raises it.
For containers, mix 60% potting soil, 30% perlite, and 10% compost—this combo prevents root rot while feeding the plants just enough.
Once planted, your irises will reward you with bold, velvety blooms that last weeks longer than in poor soil. The key is maintaining that loose texture: top-dress with 1 inch of compost every spring and avoid mulching too thickly (½ inch max).
Water deeply but infrequently—irises hate wet feet but love a good drink when the soil dries out 2–3 inches down.
Regional tweaks matter: In heavy clay zones (like the Southeast), dig in 20% sand or expanded shale; in sandy desert areas (like the Southwest), add extra compost to retain moisture.
The goal? Soil that feels like a firm handshake—not a wet sponge or a dusty powder. With this foundation, your irises will thrive for decades with minimal fuss.
📚 In This Guide
- What you need
- Instructions
- Tips and common mistakes
- Wrapping up and next steps
What you need
- ● Garden soil (topsoil): 50% of the mix (2 parts) – Use a loamy soil with a neutral pH (6.0–7.0). Avoid heavy clay or sandy soils.
- ○ Compost or well-rotted manure: 20% of the mix (1 part) – Adds organic matter for nutrients and structure. Optional: Use worm castings for extra richness.
- ● Perlite or coarse sand: 20% of the mix (1 part) – Ensures drainage and prevents waterlogging. Perlite is lightweight and ideal for irises.
- ○ Grit or small gravel: 10% of the mix (½ part) – Improves aeration and mimics natural iris habitats. Optional: Use pumice for extra porosity.
- ● Garden fork or trowel: For mixing soil amendments and loosening compacted areas.
- ● Wheelbarrow or large bucket: To blend materials evenly (aim for 5 gallons per iris clump).
- ● pH testing kit: To verify soil acidity (irises prefer slightly acidic to neutral).
- ● Gloves & protective eyewear: For handling gritty materials like perlite or gravel.
- ○ Optional: Slow-release fertilizer (e.g., 10-10-10) – Sprinkle lightly at planting time.
- ● Mulch (e.g., pine straw or bark) – Helps retain moisture without suffocating roots.
Step-by-Step guide to creating ideal soil for irises
Here's how I mix the perfect foundation for irises—one that delivers vibrant blooms season after season.
🌱 Step 1: Start With a Neutral Base Soil
Begin with 2 parts garden loam—this provides the organic matter irises crave while maintaining structure. I test the pH first (irises thrive at 6.0-7.0) because alkaline soil locks out nutrients. If your loam runs acidic, add a handful of pelletized lime per cubic foot to adjust it gradually.
Sift the loam to remove rocks and debris—irises hate compacted soil that smothers their rhizomes. Work it until it feels like crumbly cake batter. This ensures roots can spread freely without resistance. I like to do this on a tarp to contain the mess, especially when working with sandy loam that flies everywhere.
💧 Step 2: Add Organic Matter for Fertility
Mix in 1 part compost—this isn't just any compost. I use well-aged, leaf mold-rich compost because it mimics iris's natural woodland edge habitat. Too-fresh compost burns rhizomes with heat and ammonia. Work it into the loam until you see even dark streaks throughout.
For heavier clay soils, I add ½ part perlite to prevent compaction. This is where irises often fail—roots suffocate in dense soil. The perlite creates tiny air pockets that keep rhizomes breathing. You'll know it's right when a handful of the mix holds its shape but still crumbles easily when squeezed.
☀️ Step 3: Enhance Drainage for Rhizome Health
Incorporate 1 part coarse sand—not fine beach sand, but builder's sand with gritty particles. This mimics the sandy loam irises prefer in the wild. The sand prevents waterlogging, which rots rhizomes faster than any other problem. I sift it through a ¼-inch mesh screen to remove fine particles that would clog drainage.
For clay-heavy soils, I go heavier on sand (1 part sand to 1 part loam) and add ½ part horticultural grit. This creates a soil that drains like a sponge—water flows through but doesn't wash away nutrients. You'll see this working when water beads up on the surface instead of pooling.
✂️ Step 4: Test and Adjust Before Planting
Fill a container with your mix and water it thoroughly. After 24 hours, check the moisture level—it should feel damp 1 inch below the surface but not soggy. If water pools at the bottom, you need more sand or grit. If it dries out too fast, add another ¼ part compost to retain moisture better.
I always plant a test iris rhizome in a pot with the mix for 2 weeks before committing to the garden bed. If the rhizome feels firm and doesn't rot, you've got the right balance. This step saves me from replanting failed beds—irises forgive many sins, but not waterlogged roots.
🪴 Step 5: Maintain the Soil Through Seasons
After planting, top-dress with ½ inch of compost annually in early spring. This feeds the soil without overwhelming the rhizomes. I avoid heavy fertilizers—irises prefer lean conditions. Too much nitrogen produces lush foliage but few blooms, which is the opposite of what we want.
In winter, I mulch with 2 inches of shredded bark to insulate rhizomes without smothering them. This prevents heaving when freeze-thaw cycles occur. You'll know it's working when the soil stays 5°F warmer at rhizome depth than ambient air temperature during cold snaps.
Tips & tricks for perfect iris soil mix
These game-changing insights will help you create the ideal foundation for irises that thrive year after year.
Soil Texture Test: The perfect soil mix should crumble easily between your fingers like moist cake batter—this ensures proper aeration for iris rhizomes. In Step 1, when working with garden loam, press a handful firmly. If it stays compacted, you need more sand or perlite. I find using a tarp underneath makes this process cleaner, especially with sandy loams that fly everywhere. This texture prevents the soil from becoming too dense, which is crucial for preventing rhizome rot.
Compost Quality Matters: In Step 2, don't just grab any compost—look for well-aged, leaf mold-rich compost that's dark and crumbly. Fresh compost can burn iris rhizomes with ammonia. I always check for a sweet, earthy smell rather than a pungent odor. If you're unsure, let it age for another 3-6 months before using. This step is where many gardeners go wrong, thinking all compost is equal.
Drainage Check: After creating your mix in Step 4, fill a container and let it sit for 24 hours. If water pools at the bottom, you need more coarse sand or horticultural grit. The goal is for water to drain through like a sponge—this prevents the number one killer of irises: waterlogged roots. I've seen irises thrive in mixes that drain in just 10 minutes, while soggy mixes lead to root rot within weeks.
Seasonal Maintenance: In Step 5, that ½ inch of annual compost top-dressing makes all the difference. I apply it in early spring when the soil is still cool, which helps prevent nitrogen burn. For winter mulching, shredded bark works better than leaves because it breaks down slowly and doesn't create a suffocating mat. The 5°F warmer temperature at rhizome depth during cold snaps is what protects them from freeze-thaw damage.
Pro Tips for Soil For Iris
- These game-changing insights will help you create the ideal foundation for irises that thrive year after year.
- Soil Texture Test: The perfect soil mix should crumble easily between your fingers like moist cake batter—this ensure...
- Compost Quality Matters: In Step 2, don't just grab any compost—look for well-aged, leaf mold-rich compost that's dar...
Frequently asked questions
Got questions about the perfect soil for iris? You’re not alone! Here are answers to the most common concerns—from timing to troubleshooting—to help your irises thrive with confidence.
What’s the ideal pH for iris soil?
Irises love neutral to slightly acidic soil with a pH of 6.0 to 7.5. Test your soil with a kit or send a sample to your local extension office. If your soil is too alkaline (high pH), amend it with peat moss or sulfur to lower the pH gradually. Pro tip: Blue flag irises prefer slightly acidic soil (pH 5.5–6.5), while bearded irises thrive in neutral ranges.
When is the best time to amend iris soil?
Amend your soil in early spring or fall, when temperatures are mild and irises aren’t actively blooming. Avoid disturbing the roots during their growing season (spring/summer). For new plantings, mix amendments into the soil 2–3 weeks before transplanting to let the soil settle. Pro tip: If your soil is compacted, loosen it with a garden fork first!
Can I grow irises in containers? What soil should I use?
Use a well-draining potting mix blended with 50% perlite or coarse sand and 30% peat moss or coconut coir to mimic loose, loamy soil. Add a handful of compost or worm castings for nutrients. Ensure containers have drainage holes to prevent root rot. Pro tip: Repot every 2–3 years to refresh the mix.
Why are my iris leaves turning yellow? Is it the soil?
Yellowing leaves often signal overwatering, poor drainage, or nutrient deficiencies. Check if the soil stays soggy—irises hate "wet feet." Amend with sand or grit to improve drainage. Yellowing at the tips may indicate chlorosis (iron deficiency), common in alkaline soils. Try adding chelated iron or compost tea. Pro tip: If leaves yellow and wilt, it could be fungal disease—remove affected foliage and improve airflow.
Are there any soil alternatives for irises if I don’t have loam?
Yes! If your native soil is heavy clay or sandy, create a custom iris mix:
- Clay soil: Mix equal parts compost, perlite, and coarse sand.
- Sandy soil: Blend peat moss, compost, and a bit of clay to retain moisture.
- Rocky soil: Add leaf mold or well-rotted manure to improve fertility.
Wrapping up and next steps
Choosing the right soil for iris is your secret weapon for stunning, year-round blooms! Well-draining loam with a slightly acidic to neutral pH (6.0–7.0) and a mix of sand, compost, and organic matter sets the stage for thriving irises.
Don’t overlook the importance of proper drainage—waterlogged roots are a fast track to failure.
Now that you’re armed with the knowledge, it’s time to roll up your sleeves! Test your soil, amend it as needed, and plant your irises with confidence. Watch as your garden transforms into a vibrant paradise—one bloom at a time. 🌸✨