
How To
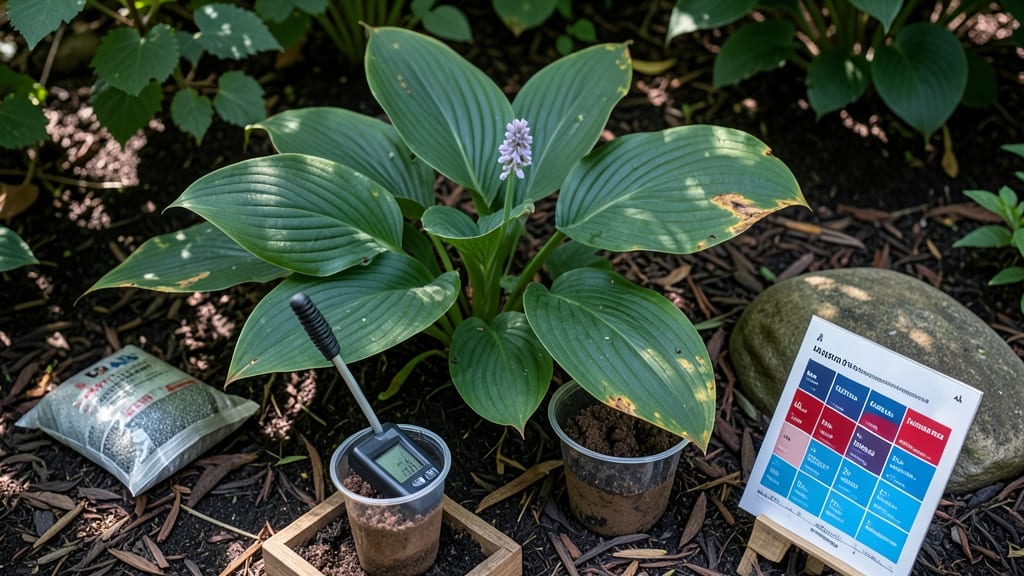
The hosta soil pH sets the stage for whether your 🌿 thrives or struggles — and most gardeners get this critical detail wrong without even realizing it.
Picture this: you’ve planted your prized hostas with care, only to watch them wilt or turn yellow a few weeks later. The soil might look fine, but the pH could be silently sabotaging their growth, making nutrients unavailable even if you’re fertilizing regularly.
Getting the hosta soil pH right isn’t just about numbers—it’s about unlocking vibrant foliage, robust roots, and the lush, healthy plants you’ve always dreamed of.
In this guide, I’ll walk you through testing your soil, adjusting the pH the right way, and troubleshooting common issues so your hostas finally get the foundation they deserve.
You’ll discover how to turn your soil into the perfect growing medium, step by step, so your hostas don’t just survive—they flourish.
Ideal hosta soil pH levels: what your plants need to flourish
Hostas are the unsung heroes of shade gardens, but their stunning foliage won’t shine if your soil pH is off. These perennials thrive in a slightly acidic to neutral range, typically between 5.5 and 6.5.
When your hostas look lackluster—yellowing leaves, stunted growth, or weak stems—it’s often a sign your soil chemistry needs attention. Understanding and adjusting pH can mean the difference between vibrant green leaves and a sad, struggling plant.
Why does pH matter so much? Hostas rely on nutrient availability in the soil, and pH directly affects how easily they can absorb essential minerals like nitrogen, phosphorus, and potassium. A pH outside the ideal range can lock these nutrients away, leaving your hostas starving even in rich soil.
For example, if your soil is too alkaline, iron becomes unavailable, causing chlorosis (yellowing leaves) while veins stay green—a classic hosta pH warning sign.
Testing your soil’s pH is the first step to giving your hostas the perfect growing conditions. You can use DIY test kits (like liquid or probe tests) for quick results or send a sample to a soil lab for precise analysis.
I’ve found that home tests are convenient but may lack accuracy, while lab tests cost more but provide detailed insights into nutrient levels beyond just pH. For most gardeners, a mid-range test kit (around $20) strikes the best balance.
Once you know your soil’s pH, you can make targeted adjustments. If your soil is too acidic (below 5.5), add lime or wood ash to raise it gradually.
For alkaline soil (above 6.5), incorporate sulfur or peat moss to lower the pH. The key is patience—soil pH changes slowly, so test again in 6–8 weeks to monitor progress. Overcorrecting can harm your hostas just as much as an imbalance!
Here’s a quick reference for what your hostas need at different pH levels:
For example, if your soil pH is 7.2, your hostas might show signs of iron deficiency, like pale yellow leaves with green veins—a classic sign of chlorosis. In this case, I recommend mixing in elemental sulfur (1–2 pounds per 100 square feet) and retesting in 2–3 months.
Organic options like pine needles or composted leaves can also help acidify soil naturally over time.
Another common issue is over-fertilizing alkaline soil, which worsens pH imbalances. If you’ve been adding too much lime or synthetic fertilizer, your hostas may struggle even if the soil looks rich.
Instead, focus on organic matter, like compost or well-rotted manure, to improve soil structure and buffer pH swings. I’ve seen hostas thrive in slightly acidic soil with just a 2-inch layer of compost added annually.
Don’t forget that hosta varieties can react differently to pH levels. For instance, blue-leaved hostas (like ‘Blue Angel’) often tolerate slightly lower pH ranges, while golden varieties (like ‘Golden Tiara’) may need a more neutral pH to maintain their vibrant color.
Always match your soil amendments to your specific hosta types for the best results.
Testing your soil pH in spring and fall gives you a full picture of how your hostas’ environment changes with seasons. I test mine in early spring before fertilizing and again in late fall to plan winter adjustments.
This proactive approach helps me avoid sudden pH shocks that can stress hostas during their most critical growth periods.
Remember, patience is key when adjusting soil pH. Overcorrecting can harm beneficial microbes and disrupt the soil ecosystem your hostas rely on. Start with small amendments, monitor your plants’ responses, and retest regularly.
With the right pH balance, your hostas will reward you with lush, healthy foliage for years to come. 🌿
How to adjust hosta soil pH: step-by-step guide for balanced growth
Hostas thrive when their soil pH stays within the ideal range of 6.5–7.5. If your plants look pale, grow slowly, or develop yellowing leaves, your soil might be too acidic or alkaline. The good news?
Adjusting pH is simpler than you think—whether you need to raise or lower it, organic and inorganic amendments can help. Start by testing your soil with a DIY pH kit or send a sample to a local extension office for precise results.
Once you know your soil’s pH, the next step is choosing the right amendment. For alkaline soil (pH >7.5), elemental sulfur or aluminum sulfate will gradually acidify it over months.
If your soil is too acidic (pH <6.5), garden lime (calcium carbonate) or wood ash can safely raise the pH. Organic options like pine needles or composted leaves also work but take longer to show results. Always apply amendments in small increments to avoid shocking your hostas.
Adjusting Hosta Soil pH: Quick Comparison
Lowering pH (Acidic Soil)
- Elemental Sulfur: Slow-acting, organic option (1–3 months).
- Aluminum Sulfate: Faster results (2–4 weeks) but can over-acidify.
- Pine Needles: Natural, slow-release (best for long-term fixes).
- Peat Moss: Improves drainage while slightly acidifying soil.
Raising pH (Alkaline Soil)
- Garden Lime: Fastest method (1–2 weeks); use pelletized lime for even distribution.
- Wood Ash: Natural but use sparingly (can burn plants if overapplied).
- Crushed Eggshells: Slow-release calcium; great for organic gardens.
- Composted Manure: Balances pH over time while adding nutrients.
Timing matters when adjusting pH. For best results, amend your soil in early spring or fall, when hostas aren’t actively growing. Avoid applying amendments during peak summer heat, as this can stress plants or cause uneven distribution.
If you’re correcting a severe imbalance, split applications into two doses—for example, half in spring and half in early summer—to give your hostas time to adapt.
Monitoring progress is key. After amending, retest your soil’s pH every 4–6 weeks using a fresh sample. Look for gradual changes rather than immediate shifts. If your hostas still struggle, consider container gardening with pre-mixed pH-balanced soil or top-dressing with sphagnum peat moss to buffer extreme pH swings.
Patience is critical—some amendments take up to 6 months to fully adjust soil chemistry.
Common mistakes can derail your efforts. Overapplying lime or sulfur is a frequent error, leading to chemical burns or pH spikes. Always follow package rates for inorganic amendments.
Another pitfall is ignoring organic matter: compost and well-rotted manure improve soil structure while naturally moderating pH. Finally, avoid testing pH right after watering—soil moisture can skew results. Wait until the soil is dry but not bone-dry for accurate readings.
With the right approach, your hostas will reward you with vibrant foliage and robust growth. Start small, test often, and adjust gradually. Soon, your garden will be the envy of the neighborhood—thanks to soil that’s perfectly balanced for these shade-loving stars. Happy gardening! 🌿