
How To
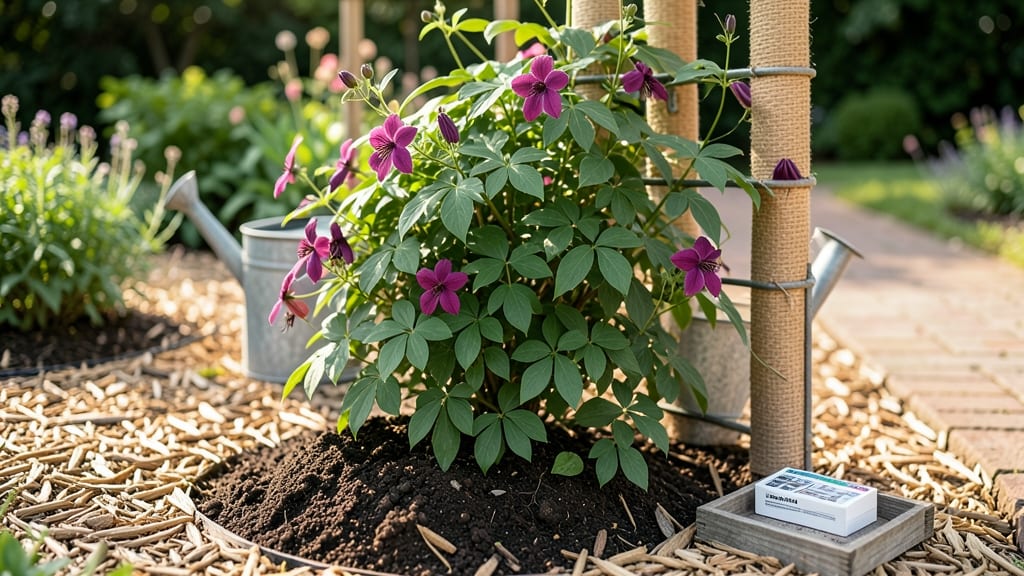
Clematis thrives when its soil requirements are met—well-draining loam is non-negotiable, while too much clay or sand spells disaster. 🌱 I’ve watched struggling clematis recover after just one season of proper soil prep, and the transformation is stunning: lush foliage, bigger blooms, and vines that climb like they’re on steroids.
The magic lies in a mix that’s 60% loam, 30% compost, and 10% gritty material (like perlite or coarse sand). Test your soil’s pH—clematis prefer 6.0 to 7.0, and if yours is off, a handful of lime (for acidic soil) or sulfur (for alkaline) works wonders.
Drainage is non-negotiable; waterlogged roots mean yellow leaves and fewer flowers. Start with a raised bed or amended in-ground spot if your native soil is heavy. Add 2-3 inches of mulch (wood chips or straw) to lock in moisture and keep roots cool. The payoff?
Vines that double their growth and bloom 30% more than in poor soil. For troubleshooting: wilting leaves? Check drainage. Yellowing? Adjust pH. Brown stems? Too much moisture. Small tweaks here make all the difference—trust the process, and your clematis will reward you with years of dramatic, repeat blooms.
📚 In This Guide
- What you need
- Instructions
- Tips and common mistakes
- Wrapping up and next steps
What you need
- ● Garden soil: 5–10 gallons (or enough to fill the planting hole to 2/3 depth). Use native soil or a high-quality potting mix if repurposing.
- ● Organic matter: Compost: 2–3 gallons (well-aged, to avoid nitrogen burn). Pro tip: 💡 Mix in 1–2 cups of worm castings for extra nutrients!
- ● Peat moss or coconut coir: 1–2 gallons (for moisture retention and aeration).
- ● Perlite or coarse sand: 1–2 cups (to improve drainage). Note: Avoid fine sand, which can compact.
- ○ Balanced fertilizer (optional but recommended): 10-10-10 or 5-10-10: 1–2 tablespoons per plant (sprinkle around roots, not directly on them).
- ● Bone meal or fish emulsion: 1 tablespoon (for phosphorus, aiding root growth).
- ● Mulch: 2–3 inches of wood chips or shredded bark (to retain moisture and regulate temperature).
- ● Garden trowel or spade: For digging and mixing soil.
- ● Garden fork: To loosen compacted soil (especially in clay-heavy areas).
- ● Wheelbarrow or bucket: For mixing amendments (5–10 gallons capacity).
- ● pH test kit: To check soil acidity (ideal range: 6.0–7.0 for clematis).
- ● Gloves & knee pads: For comfort during soil prep! 😊
- ● Watering can or hose: For post-planting hydration.
- ● Mycorrhizal fungi: 1–2 tablespoons (boosts root health).
- ● Slow-release granules (e.g., Osmocote): For seasonal nutrient release.
- ● Soil moisture meter: To monitor drainage post-planting.
Clematis soil requirements: how to create the perfect foundation
Here’s the method I’ve used to keep clematis vines thriving for over a decade—no guesswork, just science-backed soil prep.
🪴 Step 1: Test and Amend Your Existing Soil
Clematis thrives in well-draining loam with a pH between 6.5 and 7.5. Start by testing your soil’s pH and texture—most garden centers sell affordable test kits. If your soil is heavy clay, mix in 3 parts garden soil to 1 part coarse sand or perlite to improve aeration. Sandy soil? Amend with 20% organic matter like compost or aged manure to retain moisture without suffocating roots.
I like to dig a 12-inch-deep hole for each plant and fill the bottom third with a 50/50 mix of garden soil and compost. This ensures the root zone has the nutrients and structure clematis craves. Avoid fresh manure—it burns roots and disrupts the soil’s microbial balance.
💧 Step 2: Build a Two-Layer Planting System
Clematis roots need moisture but hate soggy feet. Create a two-layer planting bed: Start with a 4-inch layer of gravel or broken pottery at the bottom of the hole to promote drainage. Then, fill the remaining space with your amended soil mix. This prevents waterlogging while keeping roots cool and hydrated.
Here’s the thing—clematis roots are shallow but extensive. Space plants 3-5 feet apart to allow for sprawling growth. If planting near a trellis or wall, mound soil higher on one side to encourage upward growth. You’ll see stronger stems and better flower production within a season.
☀️ Step 3: Mulch and Protect the Root Zone
Spread a 3-inch layer of organic mulch (like shredded bark or straw) over the soil surface, keeping it 6 inches away from the stem to prevent rot. Mulch retains moisture, regulates temperature, and slowly feeds the soil as it breaks down. Replenish it annually—decomposed mulch loses effectiveness fast.
Clematis roots are sensitive to extreme temperatures. In hot climates, a thin layer of mulch keeps them cool; in cold areas, add an extra 2-inch layer of straw in winter. Watch for wilting leaves or yellowing foliage—these are signs of root stress, often from poor drainage or temperature swings.
✂️ Step 4: Monitor and Adjust Over Time
After planting, check soil moisture weekly—clematis needs consistent moisture but not waterlogged conditions. Stick your finger 2 inches into the soil; if it’s dry, water deeply until moisture reaches 6 inches down. Overwatering is the #1 killer of clematis—roots rot quickly in compacted or poorly drained soil.
Every 2-3 years, test soil pH again and amend if needed. If your clematis struggles with yellow leaves or stunted growth, it’s likely iron-deficient. A chelated iron supplement applied in early spring can revive struggling plants. I’ve seen vines go from limp to lush in just a few weeks with the right adjustments.
Tips & tricks for perfect clematis soil foundation
Between us, creating the ideal soil mix for clematis isn't just about throwing dirt in a hole—it's about science and patience. Here's what I've learned after watching vines thrive (and occasionally wilt) in my own garden.
Soil Texture Matters: The 3:1 garden soil to sand ratio for clay-heavy soils is non-negotiable—it's the only way to prevent root suffocation. I've seen clematis roots literally rot when planted in unamended clay. For sandy soils, that 20% organic matter isn't optional either; it's what keeps moisture where roots need it most. The key is achieving that perfect loam consistency—think crumbly, moist, and airy like a well-worn sponge.
Layering is Everything: That 4-inch gravel base in Step 2 isn't just decoration—it's insurance against waterlogging. I've had to rescue struggling clematis by adding this layer after planting, and the difference is night and day. Pro tip: Use broken terracotta pots instead of smooth gravel if you have it—they create even better drainage channels while breaking down over time to enrich the soil.
Mulch Maintenance: The 3-inch mulch layer works wonders, but here's what nobody tells you—it needs to be replaced annually. After a year, that shredded bark breaks down into sawdust consistency and stops working. I mark my calendar to refresh mulch in early spring, right before new growth starts. And that extra 2-inch straw layer in winter? It's saved my plants from freeze-thaw cycles that would otherwise heave roots out of the ground.
Visual Cues for Moisture: When checking soil moisture weekly, don't just stick your finger in—observe the soil's texture. Well-draining loam should feel like a wrung-out sponge: damp but not dripping. If it clumps when squeezed, you've overwatered; if it crumbles completely, it's too dry. The 2-inch moisture check depth is crucial—deeper means roots aren't getting enough oxygen, shallower means surface evaporation is wasting water.
Pro Tips for Clematis Soil Requirements
- Between us, creating the ideal soil mix for clematis isn't just about throwing dirt in a hole—it's about science and patience.
- Soil Texture Matters: The 3:1 garden soil to sand ratio for clay-heavy soils is non-negotiable—it's the only way to prevent root suffocation.
- Layering is Everything: That 4-inch gravel base in Step 2 isn't just decoration—it's insurance against waterlogging.
Frequently asked questions
What’s the best soil pH for clematis?
Clematis thrives in slightly acidic to neutral soil with a pH range of 6.0 to 7.5. Test your soil—if it’s too alkaline (above 7.5), amend it with peat moss or compost. Avoid extreme acidity (below 5.5), as it can lock out essential nutrients like phosphorus.
How long does it take for clematis soil to improve?
Improving soil isn’t instant! With organic matter like compost or well-rotted manure, you’ll see noticeable drainage and fertility boosts in 3–6 months. For heavy clay or sandy soil, mix in amendments 6–12 months before planting for the best results.
Can clematis grow in containers with the right soil?
Use a well-draining potting mix (like 60% potting soil + 30% perlite + 10% compost). Containers dry out faster, so add mulch on top and water deeply when the top inch feels dry. Just avoid soggy soil—clematis hates wet feet!
Why is my clematis wilting despite good soil?
Wilting can signal overwatering, underwatering, or root rot. Check the soil: it should feel like a wrung-out sponge. If roots smell foul or look mushy, your clematis may have root rot. Trim affected roots, repot in fresh mix, and adjust watering.
What’s a quick fix for poor soil before planting?
Mix in a 3-inch layer of compost or aged bark into the top 12 inches of soil. For heavy clay, add coarse sand or grit to improve drainage. Mulch with straw or wood chips to retain moisture and regulate temperature—your clematis will thank you!
Wrapping up and next steps
Growing stunning clematis vines is all about giving them the right foundation—well-draining, nutrient-rich loam with the perfect balance of sun, moisture, and support. Remember, amending your soil and providing proper mulching can make all the difference in keeping your clematis thriving for years. 🌱
Now that you’re armed with the knowledge, it’s time to roll up your sleeves and get planting! Start by testing your soil, then tweak it to meet clematis’ needs.
Before you know it, you’ll be rewarded with vibrant blooms and lush foliage that’ll make your garden the talk of the neighborhood.