
How To
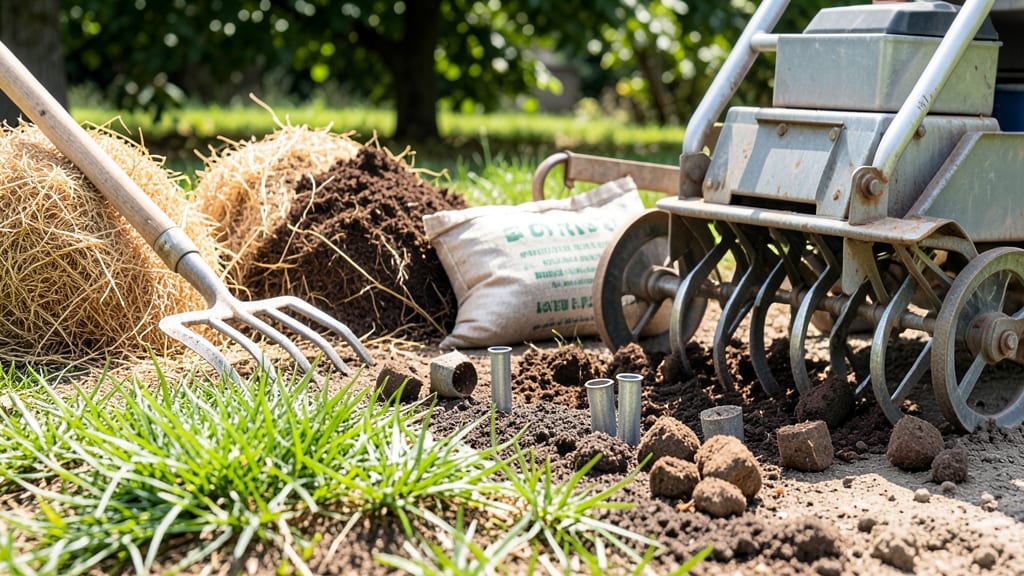
My soil was so compacted that water pooled like a puddle after rain—until I discovered how soil amendments for aeration transformed it into a loose, crumbly paradise for roots. 🌱 The right mix of organic matter and minerals doesn’t just improve drainage; it revives struggling plants by letting roots breathe and spread freely.
I’ve tried everything from coarse sand to worm castings, and the results speak for themselves: deeper roots, fewer drowned seedlings, and plants that thrive instead of just survive.
Start with a simple base: compost for organic structure, perlite or vermiculite for lightweight bulk, and a handful of coarse sand if your soil is heavy clay. For containers, mix equal parts potting soil with perlite to prevent compaction.
The key is balance—too much sand makes soil gritty, while too much compost can compact over time. I test my mix by squeezing a handful: if it holds shape but crumbles easily, it’s ready for planting.
What you’ll end up with is soil that drinks water like a sponge instead of repelling it, roots that explore deeper instead of circling in frustration, and plants that look shockingly lush by midseason.
Tomatoes, peppers, and perennials—especially those in clay-heavy or sandy soils—show the biggest improvements. Even my black thumb’s struggling snapdragons finally took off after amending their beds.
For garden beds, work amendments into the top 6-12 inches of soil before planting; for containers, refresh the mix every 1-2 seasons. The payoff? Less watering, fewer wilting plants, and a garden that feels alive under your hands. Here’s how to do it right without overcomplicating things.
📚 In This Guide
- What you need
- Instructions
- Tips and common mistakes
- Wrapping up and next steps
What you need
- ● Compost – 50% of the mix (by volume). Use well-aged, sifted compost (¼-inch or smaller particles) to avoid clumping. Pro tip: Look for compost labeled "fine" or "screened." 💡
- ○ Perlite or Vermiculite – 25% of the mix. Perlite adds lightweight aeration (1-2 mm granules), while vermiculite retains moisture (3-5 mm flakes). Optional: Use both for a balanced mix! ✨
- ● Coarse Sand – 25% of the mix. Choose builder’s sand or horticultural sand (0.1–0.5 mm grit) to prevent compaction. Skip playground sand—it’s too fine! 🚫
- ○ Peat Moss or Coco Coir – 10% (optional but helpful for moisture retention). Use sphagnum peat moss (chopped) or coco coir (pre-moistened if using).
- ● Garden Gloves – Heavy-duty to protect hands from grit and compost. Pro tip: Waterproof gloves make cleanup easier! 💦
- ● Wheelbarrow or Large Bin – Minimum 5-gallon capacity to mix ingredients. A 5-cubic-foot bin works for bigger projects.
- ● Garden Rake or Shovel – For turning and blending. A bowl-shaped rake works best for even distribution.
- ○ Soil Test Kit (Optional) – Check your soil’s pH and compaction before amending. Pro tip: Aim for a pH of 6.0–7.0 for most plants! 🌡️
- ● Watering Can or Hose – For moistening dry amendments (like coco coir) before mixing.
- ● Work in a well-ventilated area—perlite and sand can be dusty! 🌬️
- ● Wear eye protection if mixing outdoors to avoid debris.
- ● Test your mix on a small patch first if amending established beds.
How to create a loose, aerated soil mix for healthy root systems
Here's the science-backed method I use to transform dense soil into a root-friendly haven.
🌱 Step 1: Start with a Base of Organic Matter
Begin with 4 parts compost—this provides the essential organic framework that holds moisture while breaking down slowly. I prefer well-aged compost because fresh material can compact over time and reduce aeration. Mix in 2 parts peat moss or coconut coir to create air pockets between particles. This combo prevents the soil from becoming too dense while still retaining nutrients.
Sift the materials through a ¼-inch mesh screen to eliminate any large clumps. This ensures an even texture that promotes root penetration. You'll notice the mix feels light and fluffy—this is your first sign of improved aeration. If it feels gritty or heavy, you'll need to adjust the proportions in the next step.
💧 Step 2: Add Bulking Agents for Structure
Incorporate 2 parts perlite to introduce permanent air pockets that never break down. Perlite expands when heated, creating a lightweight, porous structure that roots can easily navigate. Add 1 part coarse sand (like horticultural-grade sand) to further improve drainage and prevent compaction. This combination ensures water moves freely while oxygen reaches the roots.
Mix everything thoroughly until the texture is uniform. Run your fingers through the blend—it should feel slightly gritty but still hold together when lightly squeezed. If it crumbles too easily, add a bit more compost. The goal is a mix that crumbles apart when dry but holds moisture when wet, creating an ideal balance for root respiration.
✂️ Step 3: Customize for Your Plant Type
For root crops like carrots or potatoes, add an extra 1 part vermiculite to increase moisture retention while maintaining aeration. For vegetables with shallow roots like lettuce or radishes, reduce the perlite to 1 part and increase the compost to 5 parts—this creates a finer, more nutrient-rich texture. You'll see the difference immediately when planting: roots grow deeper and stronger in the right mix.
Test the final blend by filling a small pot and pressing it gently. If it compresses easily, add more perlite or sand. If it feels too loose, incorporate a bit more compost. The ideal mix should hold its shape when pressed but still allow a finger to push through easily—this indicates perfect aeration and drainage.
🌿 Step 4: Apply to Garden Beds or Containers
Spread the amended soil over your garden beds or fill containers to 1 inch below the rim. For in-ground amendments, work the mix into the top 6-8 inches of soil using a broadfork or tiller. This loosens compacted layers while incorporating your aerated blend. Water thoroughly after application to help the soil settle and eliminate air pockets.
Monitor the soil over the next few weeks. You'll notice roots growing more vigorously and fewer signs of waterlogging. If the surface dries too quickly, add a 1-inch layer of straw mulch to retain moisture without compacting the soil. This method ensures your plants get the oxygen and nutrients they need to thrive.
Tips & tricks for perfect soil aeration mixes
Transforming compacted soil into a breathable medium takes more than just mixing ingredients—it's about understanding how each component works together. Here's what I've learned after years of trial and error in my own garden.
Texture Testing: After sifting through the ¼-inch mesh screen in Step 1, press a handful of your mix firmly in your palm. It should hold together slightly but still crumble when you release pressure—this indicates the perfect balance between structure and aeration. If it feels like wet sand, you need more perlite or coarse sand from Step 2. Too loose? Add a bit more compost to bind it without compacting.
Perlite vs. Vermiculite: Don't confuse these two! Perlite (from Step 2) is for permanent aeration—it stays porous forever. Vermiculite (the optional Step 3 addition) expands when heated but also holds moisture, making it ideal for root crops. I keep both on hand because they serve completely different purposes in the mix. For moisture-loving plants like tomatoes, I'll often add ½ part vermiculite to the standard recipe.
Customization for Containers: When working with pots or raised beds, reduce the perlite by ½ part compared to in-ground applications. Containers dry out faster, and too much perlite can create air pockets that prevent proper moisture distribution. Instead, increase the compost to 5 parts (like the shallow-rooted plant variation) to create a finer, more moisture-retentive texture that mimics natural soil conditions.
Tool Tip: A broadfork is your best friend for in-ground applications (Step 4), but if you don't have one, a sturdy garden fork works in a pinch. The key is to work the mix into the top 6-8 inches without compacting the deeper layers. I'll often go back with my fingers to break up any remaining compaction after using the fork—this creates those critical air channels roots need to thrive.
Pro Tips for Soil Amendments For Aeration
- Transforming compacted soil into a breathable medium takes more than just mixing ingredients—it's about understanding how each component works together.
- Texture Testing: After sifting through the ¼-inch mesh screen in Step 1, press a handful of your mix firmly in your palm.
- Perlite vs.
Frequently asked questions
Got questions about improving soil aeration with amendments? Here are some of the most common concerns—and their answers—to help you get started with confidence!
What are the best soil amendments for aeration?
The top choices for improving soil aeration include coarse sand (like perlite or horticultural sand), compost (to loosen clay), gypsum (for breaking up compacted soil), and organic matter like peat moss or coconut coir. For heavy clay, vermiculite or rice hulls work wonders by adding air pockets.
How long does it take for soil amendments to improve aeration?
Results vary, but you’ll often see noticeable improvements within 4–6 weeks after amending. For heavily compacted soil, give it 3–6 months—especially if you’re mixing in organic matter. Test aeration by poking a screwdriver into the soil; if it slides in easily, you’re on the right track!
Can I use regular sand from the beach or garden center?
Nope! Construction sand or play sand is too fine and can compact further. Instead, opt for horticultural sand (coarser and sterile) or perlite/vermiculite. If you’re unsure, check the label—look for "coarse" or "aeration-grade" amendments.
What’s the best time of year to amend soil for aeration?
The ideal window is early spring or fall when soil is workable but not frozen. Avoid amending right before heavy rains—it can wash away finer particles. For lawns, late summer (after peak heat) is also a great time to aerate and top-dress with compost.
What if my soil still feels compacted after amending?
Try these fixes:
- Double-check your mix: Ensure you’re using coarse amendments (like 1 part sand to 3 parts soil).
- Add more organic matter: Compost or aged manure breaks up clay over time.
- Use a core aerator: Rent or borrow one to create deep holes for roots and water/air to penetrate.
- Avoid tilling: It can disrupt soil structure further—hand-mixing is gentler.
Pro Tip:
For clay-heavy soils, mix in gypsum (calcium sulfate) before organic matter—it helps fluff up the clay particles first. Always water thoroughly after amending to settle the mix!
Wrapping up and next steps
Improving soil aeration with the right amendments can transform your garden into a thriving ecosystem where roots breathe freely and plants flourish! 🌱 Whether you’re tackling compacted soil or preparing a new bed, compost, perlite, and coarse sand are your best allies for creating a loose, breathable mix.
Start small—test a patch, monitor progress, and adjust as needed.
Ready to take action? Grab your tools, roll up your sleeves, and give your plants the gift of well-aerated soil! 💪 Next, dive into a soil test to fine-tune your blend or explore companion planting for even better results.