
Planting
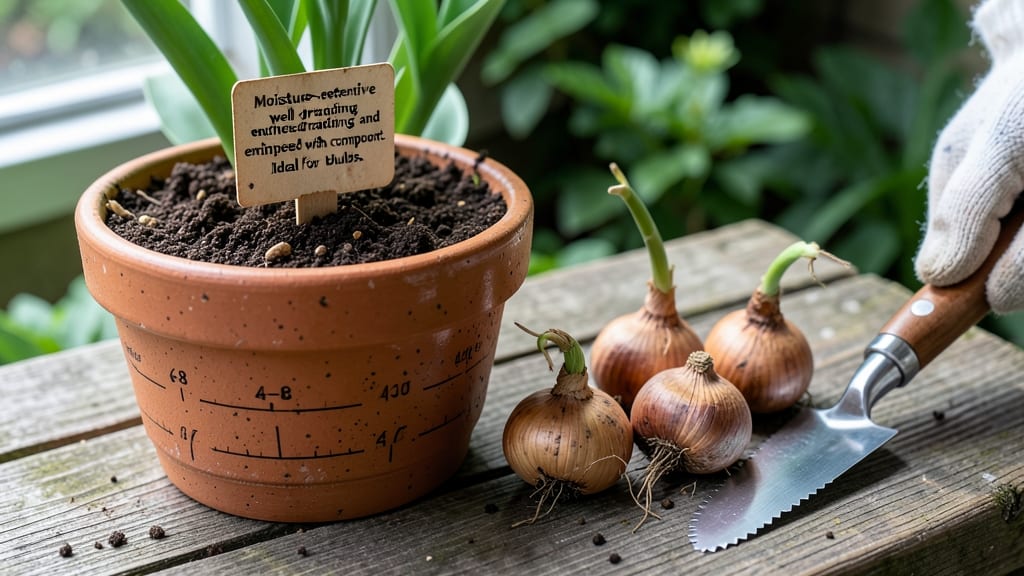
Lightweight potting soil for bulbs is your secret to fast root growth and blooms that arrive weeks ahead of schedule. ✨ The right mix keeps roots aerated, prevents rot, and holds just enough moisture—no soggy bottoms or stunted growth.
My first spring with tulips proved it: using the wrong soil delayed blooms by nearly a month, but switching to a fast-draining loam changed everything.
You need a blend that’s 60% inorganic (perlite, vermiculite, or coarse sand) and 40% organic (peat moss or coco coir) to balance drainage and nutrients. Commercial mixes like Miracle-Gro Bulb & Planting Mix work, but homemade blends let you adjust texture. Avoid garden soil—it compacts and smothers delicate bulb roots.
Once planted, keep the soil slightly moist but never soggy—bulbs rot faster than they grow. The first shoots appear in 3-4 weeks with the right mix, and by spring, you’ll have stems strong enough to hold up heavy blooms.
The key is consistency: too much water drowns roots, too little stunts growth.
For containers, add a 1-inch layer of gravel at the bottom to boost drainage, and always use pots with drainage holes. If you’re planting outdoors, amend heavy clay soil with 25% perlite to mimic the loose texture bulbs crave.
The payoff? Bulbs that multiply faster and flowers that return year after year.
📚 In This Guide
- What you need
- Instructions
- Tips and common mistakes
- Wrapping up and next steps
What you need
- ● Peat moss or coconut coir: 40% of the mix (holds moisture while allowing airflow). Pro tip: Coconut coir is a sustainable alternative!
- ● Perlite or pumice: 20% of the mix (adds aeration and prevents compaction). ✨ Tip: Perlite expands when heated—sterilize it first if using store-bought!
- ● Compost or well-aged manure: 20% of the mix (provides nutrients without overheating roots). 💡 Avoid fresh manure—it can burn bulbs!
- ● Coarse sand or vermiculite: 20% of the mix (improves drainage for bulbs that hate soggy roots). 🔥 Horticultural sand works best!
- ● Garden gloves (to protect your hands from sharp perlite/sand).
- ● Large mixing container or wheelbarrow (for blending ingredients evenly).
- ● Trowel or garden fork (to loosen soil if amending existing pots).
- ○ pH testing kit (optional) (ideal pH for bulbs: 6.0–7.0).
- ○ Bulb fertilizer (optional) (slow-release 10-10-10 or bulb-specific formula).
- ● Worm castings (5–10%) – Boosts microbial activity for healthier roots.
- ● Biochar (5%) – Improves water retention and structure.
- ○ Mycorrhizal fungi (optional) – Enhances nutrient uptake (great for high-value bulbs!).
Step-by-Step guide to mixing potting soil for bulbs
Here's how I create the perfect lightweight loam for bulbs—root growth happens fastest when the mix is airy yet moisture-retentive.
🌱 Step 1: Start With a Base of Peat Moss or Coco Coir
Use 3 parts peat moss or coco coir as your base—this provides the airy structure bulbs need to establish roots quickly. I prefer coco coir because it retains moisture longer without compacting like peat. Fluff the material thoroughly to break up any clumps before adding other components.
Don't skip this step. Bulbs rot when soil stays too wet, and peat or coco prevents that while still holding enough moisture for root development. If your mix feels dense after adding other ingredients, add a little more peat or coco to lighten it up.
🌿 Step 2: Add Perlite or Vermiculite for Drainage
Mix in 1 part perlite or vermiculite—this creates the tiny air pockets that prevent waterlogging. Perlite is great for drainage, while vermiculite holds moisture slightly better. I usually split the difference by using half perlite and half vermiculite for a balanced mix.
Sift the perlite or vermiculite into the peat base and blend thoroughly. You'll notice the mix becomes lighter and fluffier. This step is critical: bulbs like daffodils and tulips despise soggy roots, and this prevents that while still keeping moisture available.
💧 Step 3: Incorporate a Slow-Release Fertilizer
Add ½ cup of slow-release bulb fertilizer per 4 cubic feet of mix. I like using a 10-10-10 or 5-10-10 blend formulated for bulbs. The slow-release formula prevents nutrient burn while providing steady growth support. Mix it in evenly so every part of the soil has access to nutrients.
Don't overdo it—too much fertilizer can harm delicate bulb roots. If you're unsure, start with half the recommended dose and adjust next time. You'll see faster root establishment with the right balance, but bulbs grow just fine with minimal fertilizer if the mix is otherwise perfect.
✂️ Step 4: Adjust Moisture and Test Consistency
Gradually add warm water while mixing until the soil reaches a damp-but-not-wet consistency. It should hold together when squeezed but not drip water. I test this by forming a loose ball—if it crumbles easily, it's too dry; if water beads on the surface, it's too wet.
This is the moment that matters: bulbs need soil that drains well but doesn't dry out completely. If your mix feels too heavy, add a little more perlite. If it feels too dry, sprinkle in a bit more water and remix. The ideal texture is light, airy, and slightly springy when pressed.
⏰ Step 5: Let It Rest Before Planting
Allow the mix to sit for 24 hours before using it. This lets any remaining clumps break down and ensures moisture distributes evenly. I cover the mix loosely with a damp cloth during this time to prevent it from drying out.
Don't rush this step. Bulbs planted in fresh mix may shift slightly as the soil settles, which can disturb their roots. After resting, your mix will be ready to provide the perfect foundation for fast, healthy root growth—exactly what you need for strong blooms next season.
Tips & tricks for perfect lightweight bulb soil
Common pitfalls—and how to sidestep every one—when crafting the ideal growing medium for your spring bloomers.
Base Material Selection: In Step 1, if you're torn between peat moss and coco coir, here's the thing: coco coir wins for moisture retention without compacting, but if you must use peat, mix in an extra ¼ part perlite to prevent that dense, waterlogged texture. I've seen bulbs rot in heavy peat mixes that didn't get enough aeration. The key is fluffing thoroughly—run your fingers through the material until it feels like a cloud, not a brick.
Drainage Balance: When you're adding perlite or vermiculite in Step 2, don't eyeball it—measure precisely. That 1 part ratio (or your preferred ½/½ split) creates the perfect air-to-water balance. Too much perlite makes the mix dry out too fast; too little vermiculite means poor moisture retention. I keep a small scale handy to verify measurements—bulbs need that delicate equilibrium to thrive.
Fertilizer Precision: In Step 3, that ½ cup of slow-release fertilizer per 4 cubic feet is non-negotiable for most bulbs, but here's what nobody tells you: if you're planting heavy feeders like dahlias, you can safely double the amount. For delicate varieties like snowdrops, halve it. The secret is mixing it evenly—use a clean, dry spoon to distribute it through all layers of your mix, not just the surface.
Moisture Testing: The damp-but-not-wet consistency in Step 4 is your golden ticket. Here's how to nail it: squeeze a handful—water should bead slightly on the surface but not drip. If you're unsure, do the "ball test": form a loose ball that holds shape but crumbles when touched. Too much water? Add dry perlite; too dry? Spritz with warm water and remix. This step determines whether your bulbs will grow or wither.
Pro Tips for Potting Soil For Bulbs
- Common pitfalls—and how to sidestep every one—when crafting the ideal growing medium for your spring bloomers.
- Base Material Selection: In Step 1, if you're torn between peat moss and coco coir, here's the thing: coco coir wins ...
- Drainage Balance: When you're adding perlite or vermiculite in Step 2, don't eyeball it—measure precisely. That 1 par...
Frequently asked questions
Got questions about the best potting soil for bulbs?
You’re not alone! Here are some of the most common concerns—and their answers—to help you plant with confidence.
What’s the best potting soil mix for bulbs like tulips or daffodils?
Use a lightweight, well-draining mix with 50% potting soil, 30% perlite or vermiculite, and 20% compost or coconut coir. Avoid heavy garden soil—it compacts and suffocates roots. A chunky, airy blend mimics natural conditions and prevents rot.
When is the best time to plant bulbs in potting soil?
For spring bloomers (tulips, daffodils), plant in fall (6–8 weeks before frost). For summer/fall bloomers (lilies, crocuses), plant in late spring/early summer. Bulbs need time to establish roots in cool soil before active growth.
Can I reuse potting soil for bulbs year after year?
Not ideal! Reused soil can compact, deplete nutrients, or harbor diseases. Refresh with 1/3 fresh potting mix and sterilize (bake at 200°F for 30 mins) if reusing. Always replace fully after 1–2 seasons.
What if my bulbs rot in potting soil?
Root rot is usually caused by overwatering or poor drainage. Fix it by:
- Ensuring pots have drainage holes.
- Watering only when the top 1–2 inches are dry.
- Adding sand or orchid bark to improve aeration.
Is it cheaper to make my own potting mix for bulbs?
DIY can save money if you source perlite, compost, and peat/coco coir in bulk. A basic mix costs ~$5–$10 for a 5-gallon batch vs. $8–$15 for pre-mixed bulb-specific soil. Pro tip: Sterilize homemade mixes with hydrogen peroxide (3% solution) to kill pathogens.
Wrapping up and next steps
Choosing the right potting soil for bulbs—especially a lightweight loam mix—can make all the difference in helping your plants thrive from the very first sprout! 🌱 A well-draining, nutrient-rich blend ensures fast root establishment, vibrant blooms, and fewer headaches down the road.
Whether you’re a seasoned gardener or just starting out, the key is balance: aeration, moisture retention, and the right nutrients.
Now that you’re armed with the know-how, grab your gloves and get planting! Next up: Track your bulbs’ progress with a simple moisture and growth journal—it’s the best way to fine-tune your care routine. Happy gardening! 🌸