
How To
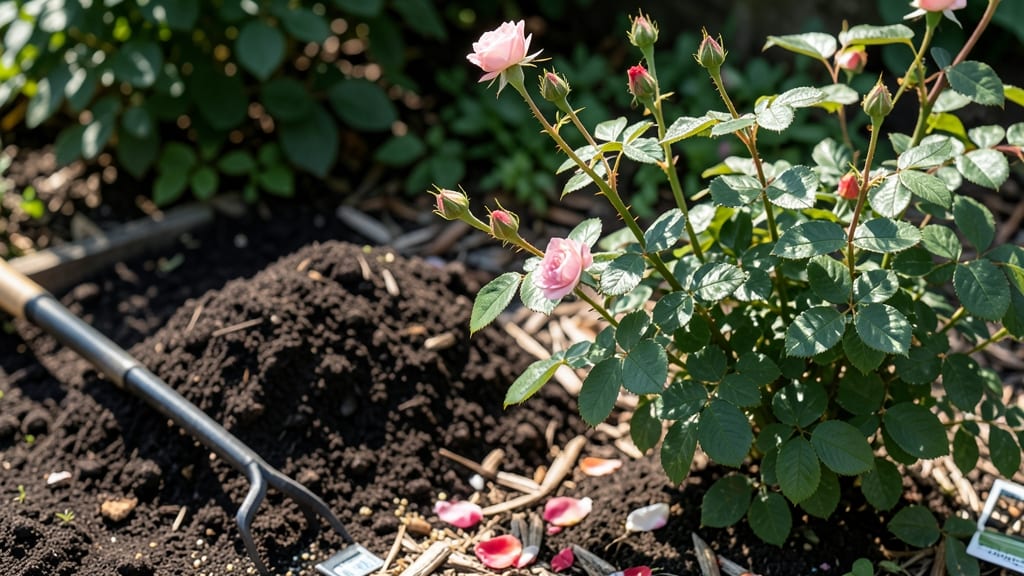
Your roses deserve the right way to amend soil for roses—rich, well-draining, and slightly acidic—not the heavy clay or sandy loam most gardens start with. ✨ I learned the hard way that roses won’t thrive in soil that’s either too alkaline or compacted, no matter how much fertilizer you add.
The secret to those lush, repeat-blooming bushes? A custom loam mix packed with organic matter and the right pH balance. Start with a soil test to check your pH—roses prefer 6.0 to 6.5, and if yours is higher, sulfur or peat moss will bring it down.
Then, mix in compost, aged manure, and perlite to loosen the soil while adding nutrients. This isn’t just about immediate blooms; it’s about building a foundation that keeps your roses healthy for years, not just one season.
By the time you’re done, your soil will hold moisture without drowning roots, support strong root growth, and feed your roses consistently—no more wilting in heat or sparse blooms. The best part? This mix works for both new plantings and established roses needing a refresh.
Avoid the common mistake of over-amending with fresh manure (it burns roots) or skipping the perlite (which causes compaction). Here’s how to do it right, step by step, for roses that bloom like they’re in a botanical garden.
📚 In This Guide
- What you need
- Instructions
- Tips and common mistakes
- Wrapping up and next steps
What you need
- ● Peat moss or coconut coir – 2–3 gallons per square foot (for acidity and moisture retention). Note: Coconut coir is a sustainable alternative!
- ● Composted pine bark fines – 1–2 gallons per square foot (adds organic matter and improves drainage). pH range: 4.5–6.0.
- ● Garden sulfur – 1–2 lbs per 100 sq ft (lowers soil pH to 6.0–6.5, ideal for roses). Apply 2–3 months before planting!
- ○ Garden lime (optional for testing) – Small amounts (if soil pH is too low). Use sparingly—roses hate alkaline soil!
- ● Slow-release organic fertilizer – 10–20 lbs per 100 sq ft (look for a balanced NPK like 10-10-10 or rose-specific formula).
- ○ Bone meal (optional) – 1–2 lbs per rose bush (boosts phosphorus for root and bloom development).
- ● Perlite or coarse sand – 1–2 cups per square foot (improves aeration in heavy clay soils).
- ● Garden trowel or spade – For mixing amendments into the soil.
- ● Garden fork or broadfork – Loosens compacted soil 12–18 inches deep.
- ● Soil pH test kit – Essential! (Digital kits like Luster Leaf or MySoil are accurate and easy to use).
- ● Wheelbarrow or large bucket – For mixing amendments.
- ● Gloves and knee pads – Because comfort matters!
- ● Watering can or hose – To hydrate soil after amending.
- ● Test your soil’s current pH (aim for 6.0–6.5). Too high or low? Adjust accordingly!
- ● Choose a sunny location (roses need 6+ hours of direct sunlight daily).
- ● Remove weeds, rocks, and debris from the planting area.
- ● Water the soil 1–2 days before amending to help amendments integrate smoothly.
Step-by-step instructions for creating an ideal rose soil mix
Here’s the foolproof method I use to transform heavy or alkaline soil into the perfect acidic loam roses crave.
🌱 Step 1: Test Your Current Soil
Before adding anything, grab a handful of soil and squeeze it. If it crumbles easily, you’ve got loose sand; if it sticks together like clay, you’re dealing with compacted soil. Roses thrive in well-draining loam, so aim for a texture that holds moisture but doesn’t feel gummy. Use a soil pH test kit to check acidity—roses prefer 6.0 to 6.5. If your soil tests higher, you’ll need to lower the pH.
I like to test in multiple spots since soil pH can vary even in a small area. Dig a hole about 6 inches deep and collect samples from different directions. The goal here is to understand your starting point so you don’t over-amend. For example, if your soil is already 6.2, you might only need a light touch of sulfur, whereas 7.5 soil will need a stronger adjustment.
🪴 Step 2: Break Up Compacted Soil and Add Organic Matter
Using a garden fork, loosen the top 12 inches of soil where your roses will go. This helps roots spread and prevents waterlogging. If your soil is heavy clay, mix in 2-3 inches of compost (from your 3 cubic feet supply) into the top 6 inches. Compost improves drainage and adds essential nutrients roses love, like phosphorus for blooms.
Don’t skip this step—compacted soil suffocates roots and leads to weak growth. I like to work the compost in by hand, breaking up any remaining clumps. Think of it like fluffing a pillow: you want the soil to feel airy and inviting for those roots. If your soil is sandy, hold off on the compost and focus on adding 20% organic matter like peat moss or well-rotted manure instead.
☀️ Step 3: Adjust pH with Sulfur and Lime Alternatives
For soil testing above 6.5, sprinkle 1 pound of elemental sulfur (from your 1-pound bag) evenly over the amended area. Work it into the top 6 inches of soil. Sulfur lowers pH gradually—it can take 2-3 months to fully acidify the soil, so plan ahead. Water the area thoroughly after applying to help it dissolve and spread.
If your soil is below 6.0, you’ll need to raise the pH slightly. Instead of lime (which can overcorrect), I use 1 cup of dolomitic lime (from your 1-pound bag) per 100 square feet. Sprinkle it lightly over the soil and mix it in. Unlike sulfur, lime works faster—you’ll see changes within 2-4 weeks. Always retest the soil after amending to avoid overshooting your target pH.
💧 Step 4: Blend in Sand and Peat Moss for Perfect Texture
Roses hate soggy feet, so if your soil drains poorly, mix in 1 part coarse sand (from your 2 gallons) for every 3 parts soil. This improves aeration without making the soil too gritty. For sandy soil, add 1 part peat moss (from your 1 cubic foot) to help retain moisture and nutrients. Peat moss also adds a slight acidity boost, which roses appreciate.
Here’s the thing—don’t just dump these materials on top. Use a garden rake to blend them into the top 6 inches of soil. You’re aiming for a loamy texture that feels like a well-worn sponge: it holds water but doesn’t stay soggy. If you’re unsure, squeeze a handful—it should hold its shape but crumble when you poke it. This is the Goldilocks zone for rose roots.
⏰ Step 5: Plant and Mulch for Long-Term Success
Once your soil is amended, dig a hole twice as wide as the rose bush’s root ball but only as deep as the root ball itself. This encourages roots to spread outward rather than settling too deep. Gently remove the rose from its container and loosen any circling roots with your fingers. Place it in the hole so the graft union (the bump where the rose was attached to its rootstock) sits 1-2 inches above soil level. This prevents the union from being buried, which can cause disease.
Backfill the hole with your amended soil, tamping it down lightly as you go to remove air pockets. Water deeply to settle everything, then top with 2-3 inches of mulch (from your 4 cubic feet). Mulch keeps soil moist, regulates temperature, and slowly breaks down to feed the soil. Just keep it 2 inches away from the stem to prevent rot. Now, sit back and watch your roses thrive—this mix gives them everything they need to bloom like crazy all season.
Tips & tricks for perfect rose soil amendments
Transforming your garden into a rose paradise starts with the right soil mix—and these insider tips will help you avoid common pitfalls while maximizing results.
Soil Test Accuracy: Don't rely on a single test spot—soil pH can vary dramatically even within a small area. I recommend testing 3-4 different locations in your planting zone, especially if you notice inconsistent rose growth. For example, one side of your garden might test 7.0 while another hits 6.8—this variation means you'll need to adjust your sulfur or lime application accordingly. Grab samples from where you plan to plant and from areas where roses have struggled in the past.
Compost Layering Technique: When mixing in that 2-3 inches of compost in Step 2, think of it like making a lasagna. Spread a thin layer (about 1 inch) over the loosened soil, then gently fork it in before adding another layer. This creates better soil contact and prevents pockets of pure compost that can burn roots. For clay soils, I like to work in a bit more compost—up to 4 inches total—but always blend it thoroughly to avoid clumping.
pH Adjustment Timing: The 2-3 months sulfur needs to acidify soil might seem long, but don't rush it. I've seen gardeners overcompensate by adding too much sulfur too soon, which can actually harm beneficial microbes. Instead, plan your amendments in early spring—this gives the sulfur time to work before planting season. For lime applications, the 2-4 weeks window is perfect for late summer prep if you're planting in fall. Always retest after 6 weeks to confirm you've hit that 6.0-6.5 sweet spot.
Texture Test Secret: That "well-worn sponge" texture we're aiming for in Step 4 is easier to achieve than you think. After blending your sand or peat moss, do this quick test: take a handful of amended soil and press it gently. It should hold its shape when you release pressure but crumble easily when you poke it with your finger. If it stays in a hard clump, add more sand; if it falls apart completely, mix in more peat moss. This simple test saves you from guessing—and from soggy rose roots.
Pro Tips for Amend Soil For Roses
- Transforming your garden into a rose paradise starts with the right soil mix—and these insider tips will help you avoid common pitfalls while maximizing results.
- Soil Test Accuracy: Don't rely on a single test spot—soil pH can vary dramatically even within a small area.
- Compost Layering Technique: When mixing in that 2-3 inches of compost in Step 2, think of it like making a lasagna.
Frequently asked questions
Got questions about amending soil for roses? You’re not alone! Here are answers to the most common concerns—so you can grow show-stopping blooms with confidence.
How often should I amend rose soil?
Amend your soil once every 2–3 years for established roses, or annually if your soil is very poor (sandy, clay-heavy, or compacted). Test pH yearly—aim for 6.0–6.5. Top-dressing with compost in spring keeps nutrients fresh without overworking the soil. Pro tip: Mix in 1–2 inches of compost annually to maintain fertility between major amendments.
Can I plant roses right after amending the soil?
Wait 4–6 weeks after amending to let organic matter (like compost or peat moss) break down and stabilize. This prevents nutrient spikes that can burn roots. For urgent plantings, use aged compost or a slow-release fertilizer instead. Timing tip: Amend in early spring (before bud break) or fall for best results.
What’s a budget-friendly alternative to expensive soil amendments?
Skip pricey mixes—use free or low-cost swaps like:
- Compost: Yard waste, coffee grounds, or leaf mold (free from municipal programs).
- Sulfur: For acidity (pick up cheap at garden centers).
- Pine needles: Sprinkle around roses to lower pH naturally.
- Crushed eggshells: Add calcium (save shells from cooking!).
My roses are yellowing—did I amend the soil wrong?
Yellow leaves often signal nutrient imbalance or pH issues, not just poor amendments. Check:
- Too much nitrogen? Brownish-yellow leaves = over-fertilizing.
- Too acidic (pH < 5.5)? Yellow with purple stems = add lime.
- Compacted soil? Wilting despite water = add perlite or sand.
Do I need to amend soil for roses in containers?
Yes! Container roses thrive in well-draining, acidic loam too. Use a mix of:
- 50% potting soil (or coconut coir for acidity).
- 30% compost or worm castings.
- 20% perlite/sand for aeration.
Wrapping up and next steps
Amending your soil for roses is a rewarding investment—one that transforms your garden into a lush paradise of vibrant blooms year-round! 🌹 By focusing on an acidic loam mix rich in organic matter, proper drainage, and essential nutrients, you’re setting the stage for thriving roses that’ll make your neighbors green with envy.
Remember, healthy soil equals happy roses, so don’t rush the process—your patience will pay off in spectacular color and fragrance.
Now that you’re armed with the know-how, it’s time to roll up your sleeves!
Start by testing your soil (if you haven’t already) and then take action—whether it’s a full garden overhaul or targeted amendments for existing rose beds. Check out our guide on planting and ongoing care to keep those blooms flourishing all season long!