
How To
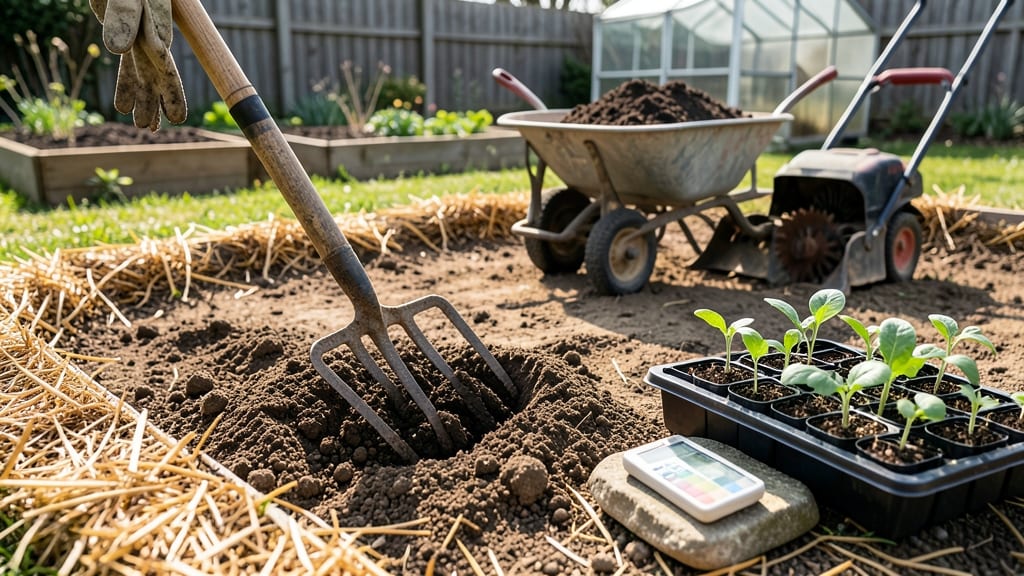
Preparing your soil for planting is the secret weapon behind every thriving garden—loose, crumbly earth that roots can dive into like fresh butter. 🌱 I’ve dug up more compacted soil than I’d like to admit, and the difference between that and a perfect planting bed is just a few simple steps.
The right prep turns struggling plants into showstoppers, and it all starts with understanding what your soil needs before the first seed goes in.
First, grab your basic tools: a garden fork, compost or well-rotted manure, and a soil test kit (or a simple pH strip). If your soil is heavy clay, sandy, or somewhere in between, each type needs a different approach—sandy soil holds nutrients poorly, while clay drains like a stopped-up sink.
I’ve learned the hard way that skipping this step means wasted time and money on plants that just won’t grow. The goal? A mix that’s 60% mineral, 30% organic matter, and 10% air and water—like a fluffy, fertile hug for roots.
Once you’ve amended your soil, you’ll see the difference immediately: seeds germinate faster, transplants take off without shock, and weeds struggle to compete. The texture becomes light and crumbly, almost like cake batter for roots.
Even my black thumb can’t mess this up—it’s the foundation that makes everything else work. And the best part? This prep pays off for years, not just the first planting season.
Whether you’re tackling a backyard plot, raised beds, or container gardens, the principles stay the same. The key is patience—don’t rush the process, and always work the soil when it’s moist but not soggy.
Think of it as giving your plants the best possible start, like tucking them into bed with fresh sheets. Ready to dig in?
📚 In This Guide
- What you need
- Instructions
- Tips and common mistakes
- Wrapping up and next steps
What you need
- ● Garden fork or broadfork: A sturdy, bend-resistant fork (18-24 inches long) to loosen compacted soil without turning it over.
- ● Garden trowel or spade: For digging small holes or mixing amendments into tight spots (8-12 inches long).
- ● Gloves: Heavy-duty, garden-grade gloves (waterproof, with reinforced palms) to protect your hands from thorns, dirt, and blisters.
- ● Compost or well-rotted manure: 2-3 inches spread evenly over the soil surface (choose aged compost to avoid burning plants).
- ● Organic matter: Options like leaf mold, peat moss, or coconut coir (1-2 inches thick) to improve soil structure.
- ● Soil test kit: A DIY kit (or lab service) to check pH and nutrient levels—critical for tailoring amendments.
- ● Water source: A hose with a gentle spray nozzle or watering can to hydrate soil during prep.
- ○ Mulch (optional but recommended): Straw, wood chips, or shredded leaves (2-3 inches deep) to retain moisture and suppress weeds.
- ● Soil conditioners: Products like vermiculite, perlite, or biochar to enhance drainage or microbial activity.
- ● Slow-release fertilizer: Balanced (10-10-10) or plant-specific (e.g., tomato or veggie blend) to give roots a nutrient boost.
- ● Cover crop seeds: Clover, vetch, or winter rye to plant before your main crops for natural soil enrichment.
- ● pH adjusters: Lime (to raise pH) or sulfur (to lower pH) if your soil test reveals extreme imbalances.
- ● Soil aerator or cultivator: For large gardens, a manual or electric tool to deep-loosen soil without a fork.
Step-by-Step instructions for preparing soil for planting
Here’s how I transform tough soil into a fluffy, root-friendly foundation—no fancy tools required.
🌱 Step 1: Clear and Loosen the Top Layer
Start by removing debris like rocks, weeds, or old plant matter from the 6-inch top layer of soil. I use a garden fork or trowel to scrape away anything that might compete with your new plants. This isn’t just about looks—it’s about giving roots space to breathe and grow.
Next, loosen the soil with a digging fork or broadfork. Push it in 8-12 inches deep and wiggle it side to side to break up compacted layers. You’ll know it’s ready when the soil crumbles easily between your fingers. If it feels like packing dirt, keep working—roots need room to spread, not fight through hardpan.
💧 Step 2: Test and Amend the Soil
Dig a small hole and fill it halfway with water. If the water drains in 10 minutes or less, your soil is sandy and needs organic matter. If it pools or takes hours to drain, it’s clay-heavy and needs sand or compost to loosen it. This quick test tells you exactly what your soil needs before you add anything.
For most gardens, I mix in 2-3 inches of compost (homemade or store-bought) and work it into the top 6 inches of soil. If your soil is acidic (like pine forests), sprinkle in 1-2 cups of lime per 100 square feet and till it in. For alkaline soil, add 1-2 pounds of sulfur per 100 square feet. You’ll see the difference immediately—the soil will feel lighter and smell earthy, not sour or metallic.
☀️ Step 3: Level and Fine-Tune the Surface
Rake the soil until it’s smooth and free of clumps. I like to drag a level board over the area to ensure it’s even—this prevents water from pooling in low spots, which can drown roots. If you’re planting in rows, use a rake to create shallow furrows 1-2 inches deep where seeds or seedlings will go.
For heavy clay soil, I add a thin layer of coarse sand or perlite to improve drainage. For sandy soil, I top-dress with a ½-inch layer of compost to retain moisture. Press down lightly with the back of a rake—just enough to create a firm but not packed surface. Your goal is soil that holds moisture without becoming waterlogged.
⏰ Step 4: Wait and Water Before Planting
Let the amended soil sit for 1-2 days before planting. This gives any added materials time to settle and integrate. On the day you plant, water the soil deeply until it’s moist 6 inches down. You’ll know it’s right when a handful of soil holds together but doesn’t drip water.
This step is critical—it ensures your plants don’t dry out immediately after transplanting. If you’re planting seeds, water again lightly after sowing to keep the soil surface evenly moist. For seedlings, a gentle watering at the base helps them establish roots without disturbing the soil around them.
Tips & tricks for perfect soil preparation
Here's what nobody tells you about turning stubborn soil into a thriving garden foundation.
Depth Matters: When loosening that 8-12 inch layer in Step 1, focus on breaking up the hardpan—not just the top few inches. I've seen roots struggle when they hit compacted soil just below the surface. Use your digging fork like a pry bar, wiggling it side-to-side to create vertical cracks that let roots penetrate easily. Think of it as making soil "roads" for your plants' roots to travel.
Compost Quality Check: That 2-3 inch layer of compost in Step 2 should look dark and crumbly, not like wet cardboard. If your compost smells sour or has large chunks, it needs more time to break down. For best results, I mix in equal parts finished compost and topsoil—the combination gives you the perfect balance of nutrients and structure. The goal is soil that feels like a damp sponge, not concrete.
Drainage Test Hack: The 10-minute water test in Step 2 is your soil's report card. If water disappears instantly, you're dealing with pure sand that needs organic matter. If it pools, clay soil needs sand or perlite. Pro tip: For clay-heavy soil, I add a ½-inch layer of coarse sand first, then mix in compost—this creates drainage pathways while retaining moisture. This two-step approach prevents the "muddy mess" that happens when you just add compost to pure clay.
Leveling Secret: That level board in Step 3 isn't just for looks—it prevents water from pooling and creating anaerobic zones where roots rot. I like to use a 2x4 board that's longer than my garden bed. Drag it back and forth until the soil is perfectly even, then create those 1-2 inch furrows. The slight depression helps water reach roots while keeping the surface firm enough to support seedlings without sinking.
Pro Tips for Prepare Soil For Planting
- Here's what nobody tells you about turning stubborn soil into a thriving garden foundation.
- Depth Matters: When loosening that 8-12 inch layer in Step 1, focus on breaking up the hardpan—not just the top few i...
- Compost Quality Check: That 2-3 inch layer of compost in Step 2 should look dark and crumbly, not like wet cardboard....
Frequently asked questions
Got questions about prepping your soil for planting? You’re not alone! Here are answers to the most common concerns—from timing to troubleshooting—so you can get your garden off to the best start.
When is the best time to prepare soil for planting?
The ideal time depends on your climate and plants. In temperate zones, aim to prep soil 4–6 weeks before the last frost for spring planting. For fall crops, start 6–8 weeks before the first frost. In warm climates, prepare soil in early spring or late winter before the heat sets in. Pro tip: Test soil moisture—it should be workable, not muddy or bone-dry.
Do I need to remove all the grass before planting?
Not necessarily! If you’re planting perennials or shrubs, smothering grass with cardboard or mulch can work. For veggies or flowers, digging out grass (or using a sod cutter) is best. Alternative: Try sheet mulching (layering compost, straw, and mulch) to kill grass naturally over time.
What if my soil is too clay-heavy or sandy?
Clay soil? Amend with compost, peat moss, or coarse sand to improve drainage. Sandy soil? Add organic matter like compost or aged manure to retain moisture. For extreme cases, mix in 1–2 inches of topsoil or use gypsum (for clay) or perlite (for sand). Test your soil first! A simple $10–$20 kit from a garden center can guide you.
How do I keep pests out of freshly prepped soil?
Pests like grubs, ants, or rodents love loose soil. Prevent them with:
- Diatomaceous earth (sprinkle lightly on top)
- Row covers or chicken wire for vulnerable areas
- Neem oil (natural repellent for insects)
- Copper tape around raised beds to deter burrowing pests
Can I plant right after tilling or amending the soil?
Not always! Wait 1–2 weeks after tilling to let the soil settle and for amendments (like compost) to start breaking down. If you’ve added fresh manure, wait 2–3 months to avoid burning plant roots. Sign it’s ready: Soil should feel crumbly, moist, and warm (not cold or compacted).
What’s the easiest way to test soil pH at home?
Grab a $10 pH test kit (available at garden centers or online). Follow the steps:
- Take a soil sample (6 inches deep, mix 5–6 spots).
- Add distilled water and the test solution.
- Compare the color to the chart. 6.0–7.0 is ideal for most veggies; 4.5–5.5 for blueberries.
Wrapping up and next steps
Preparing your soil for planting is the foundation of a thriving garden—literally! By testing, amending, and nurturing your soil, you’re giving your plants the perfect start to grow strong, healthy, and bountiful. Remember, healthy soil means happy plants, so don’t rush this step—your future harvests will thank you! 🌱✨
Now that you’re armed with the know-how, roll up your sleeves and get digging! Start small with a test plot, then expand as you gain confidence. Happy planting—your green thumb is about to shine! 🌿💚